4 Ways to Say Thank You to that Special Teacher

School is almost out! Many of us including myself are running around last minute trying to figure out what to get that special teacher.  That teacher that made our child feel safe, loved and want to learn.  Being a teacher myself I have received many teacher gifts in the last 20 years.  Many gifts I have I treasured and used.  Many I wondered what to do with them and felt horrible getting rid of them.  I always showed my delight no matter what the gift was because seeing those kids face light up was a gift in itself. However, since I am on the opposite side this time, giving the teacher thank you gifts, I have decided to put thought into it.  Yes, if you ask on the mom Facebook groups the common response is to give a gift card.  This is the safest gift to give.

So I decided to do both a small gift card and give the teacher the items they use in their daily teaching lives.  Teachers spend a lot of out of pocked money to prep and ensure students are not missing the basic materials to help them learn.  Classroom budgets are getting smaller each year so it is a nice gesture to help stock up there classroom.

4 Ways to Say Thank You to that Special Teacher

Gift #1: Clipboard or Binders

Teachers use lots of clipboards and binders.  So why not personalize it with some inspirational quotes.  Sometimes a reminder is needed after a year of difficult children, some difficult parents and a bully of an administrator.  So I purchased a binder from the dollar store and had my son help me paint it. I then hand wrote an inspirational quote at the back.  Teacher Thank You Gifts

Gift #2: Travelling Mug

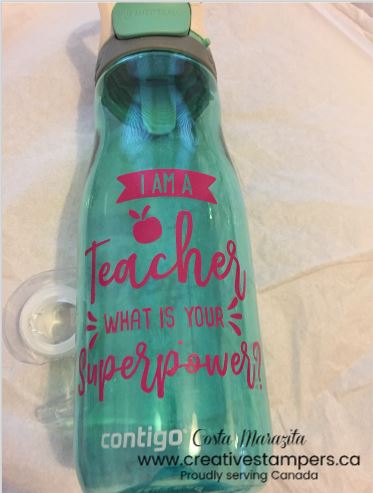
Teachers are always on the go.  Never sit down and barely make it to the bathroom.  So a travelling mug that they can keep at the desk so they can have water easily accessible.  Let’s not forget coffee or tea as well.  We do need that caffeine energy boost after a long day when prep has been cancelled, we have had yard duty and meetings.

Teacher Thank You Gifts

Teacher Thank You Gifts

Gift #3: Tea gift set

Sometimes there is that teacher that has it all.  I often times have my child help investigate by asking them what they really love to drink.  I then create a basket with those favorite items.

Teacher Thank You Gifts

Gift #4: Plant

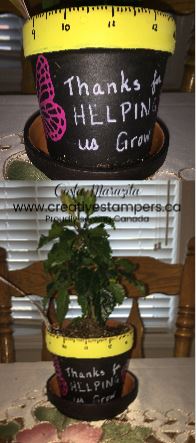
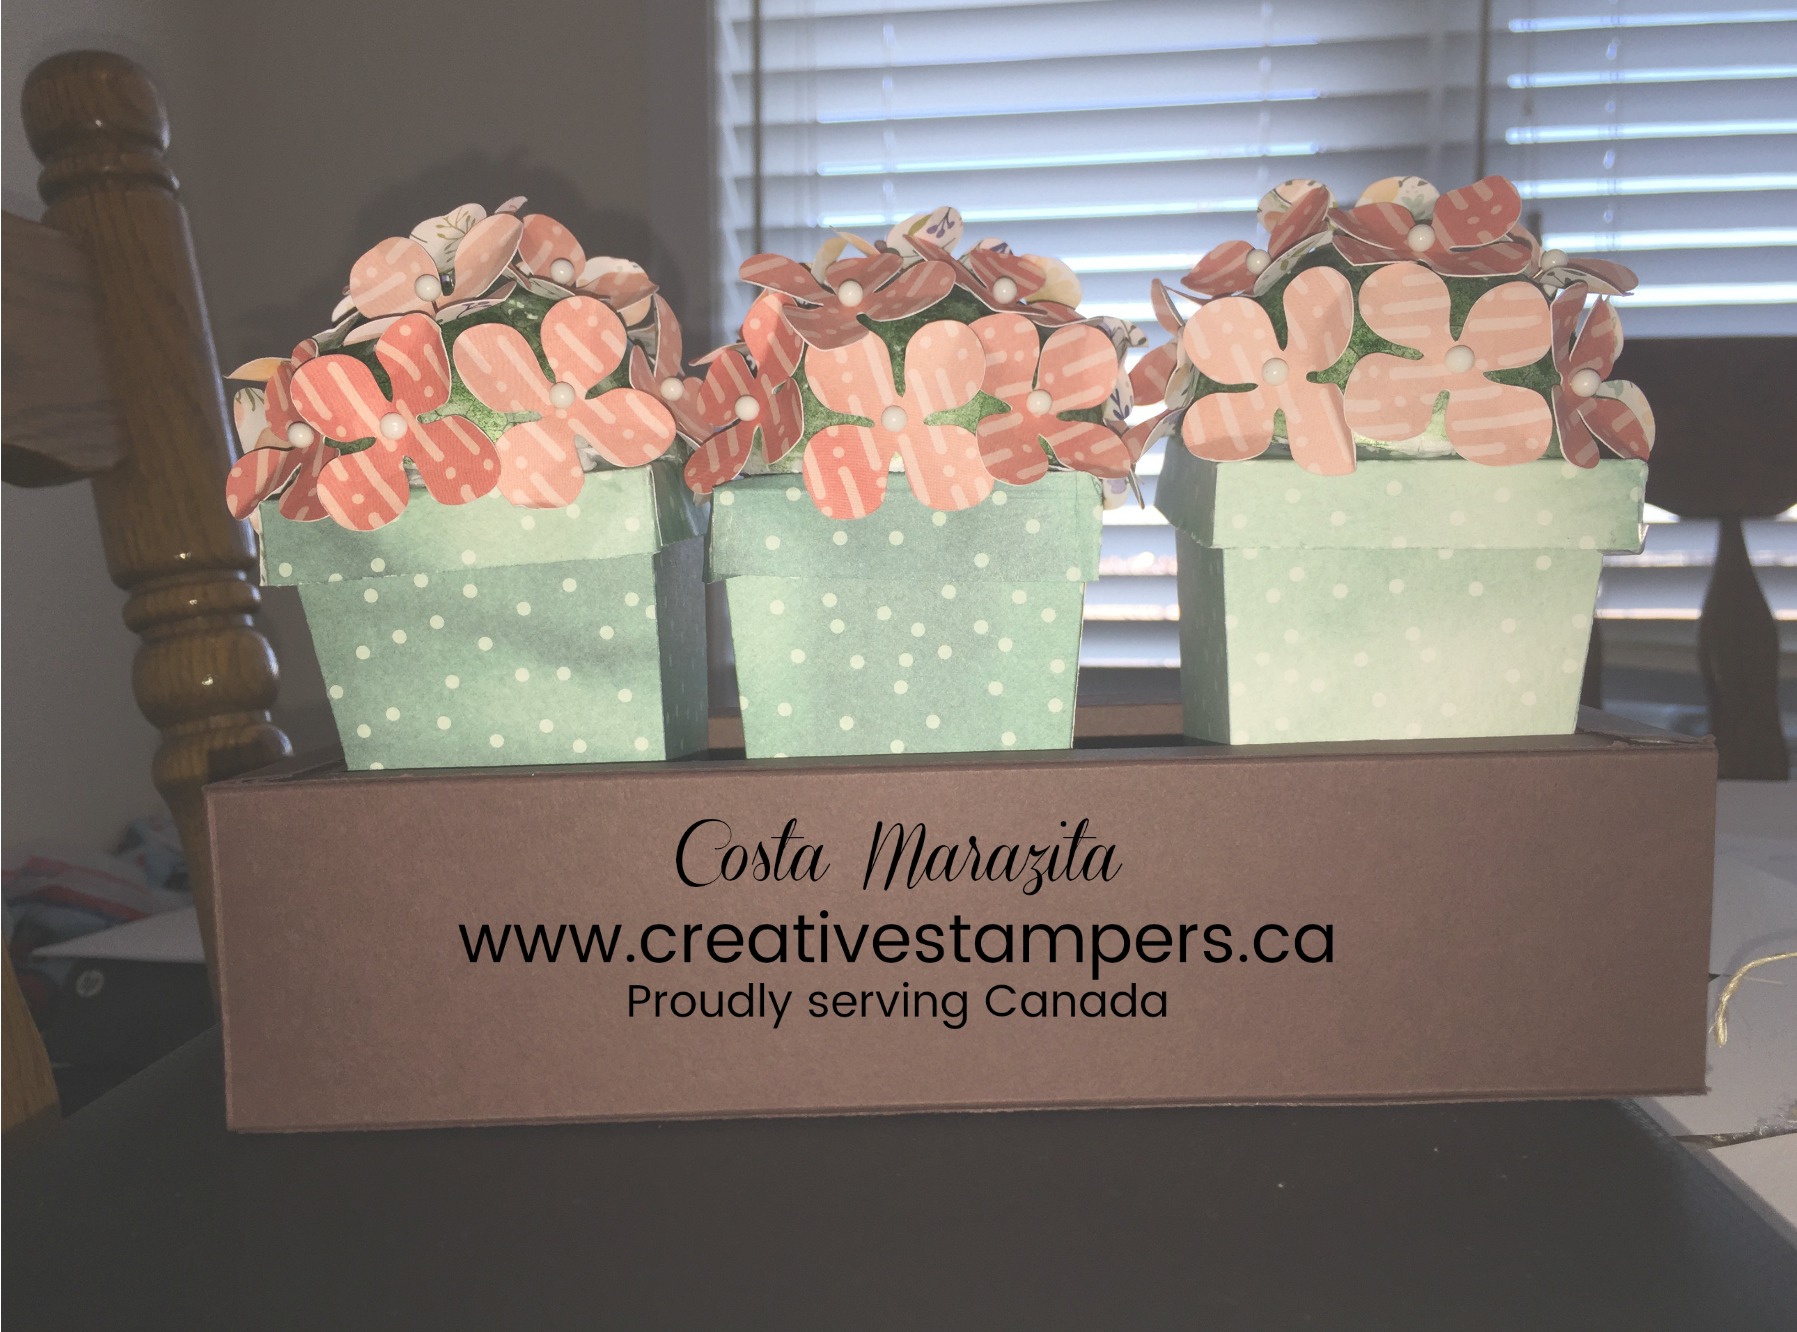
Teachers love to make their classroom inviting.  What better way to help with making it inviting then to sent a plant in a personalized pot.  After all if the plant doesn’t work out they can wash the pot and store all their writing tools.

Teacher Thank You Gifts

There you have it! Four easy and quick gifts that your teachers would love to have with those gift cards.  Just remember though that there are many more things that teachers can use in there classroom.  With a little help from your child you can find out the things that is lacking and needed. But don’t forget with all those special gifts cards and tags are needed.  For the tea gift basket tag, I printed the sentiment from my computer and used the Abstract Impressions stamp set.  It comes as a bundle or as the stamp set.

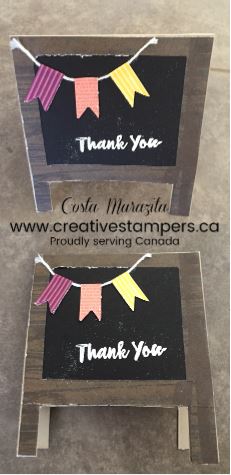
For the card, I just used scrap or retired paper lying around and whisper white ink to create a beautiful thank you card for the teacher.  Teacher Thank You Gifts
 

Remember if you love the projects join a Creative Crafters Club above to see the library.  If you need daily inspiration then don’t forget to join our Facebook Group.

4 Travel Tips for Crafters-Take your project with you!

Summer is amongst us and with it comes amazing warm weather that we wish to enjoy.  After all spending the long cold gloomy winters inside has us looking forward to the travels and vacations outdoors.   That normally slows down our paper crafting projects.  But it doesn’t have too.  I have traveled and packed my Stampin’ projects with me many times.  I hate suffering crafting withdrawal syndrome.  I mean I don’t bring all my crafting supplies with me, but depending where and how far I am going I do pack projects to complete while I am on vacation. I know what you are thinking, why go all that way to stay inside and craft.  You see, I not only enjoy my well deserved vacation but I craft as well.  In this blog I will show you 4 Travel Tips for Crafters-Take your project with you!

4 Travel Tips for Crafters

Tip #1:  Plan Your Projects before you leave

Never leave it to the day you are ready to figure out what you will create and pack.  You know what happens when you do that.  You either pack everything or forget the most important thing.  Like your clear block or ink pad.  I normally choose one or two projects that I want to work on.  Depending on how many I’m making of each.

Tip #2: Decide what to prepare before hand

Once you know the design you would like to create, decide if you can pre-cut prior to leaving.  After all you don’t want to be tagging along the big shot or the paper cutter.  Leave the big item tools at home.  Nothing ruins a perfectly good vacations when your load is too heavy or if it gets damaged in the transition to your destination.

Tip #3: Decide on storing or packaging

There is no need to hide your projects between your clothes.  I have packed and brought my projects in a zip lock bag and placed it on the very top of my luggage.  Nothing has ever happened to it.  You heard me right, nothing was confiscated.  I’ve brought my Paper Pumpkin kits and projects that I have designed.  I normally individually pack each group of items in small Ziploc bags.  For example all my circle cuts in one little baggy, all my folded cards in another baggy, well you get the idea.  I then place all the baggies in a large baggy with the ink block and ink and adhesive.  This just makes it easier for me to find it all in one place without digging through one baggy.

Tip #4: Decide when to Craft

Just because you are on vacation doesn’t mean that you need to stay inside to craft.  After all the whole point of travelling is to get awesome R&R.  So not craft on the balcony.  I used to sit on the balcony with the door open while my kids were afternoon napping.  That was the best me time ever.  I always crafted in between.  Like waiting for hubby take a shower, early mornings when hubby/kids were still sleeping, or in the evenings after coming back from that dinner and entertainment and I needed to unwind.

So there you have it.  Just because the weather gets warmer, it does not mean that you need to put crafting on hold. You can take it with you and craft while you are enjoying yourself.  Just remember to plan ahead of time so that it will be part of your amazing getaway.

If you enjoyed this, then you need to join the Creative Craft Club where I share exclusive tutorials, tips and techniques.  For daily inspirations join our Facebook Group.
Quick & Easy DIY Father’s Day Card & Gift

Father’s Day is this weekend.  If you are like me who has had a gazillion things come up this week and no time to create.  Then you have nothing to worry as I have got you covered.  You see I had 10 minutes this afternoon to create something amazing for my special man in my life.  I created a quick and easy DIY Father’s Day card and gift.  All I did was use that awesome designer series paper that I had purchased a couple of months ago, stamps, big shot, card stock and some stamps.  I was so impressed with my design that I created not just one for my hubby from the kids, but for my dad and my father-in-law.


DIY Father's Day Card & Gift

Supplies used:

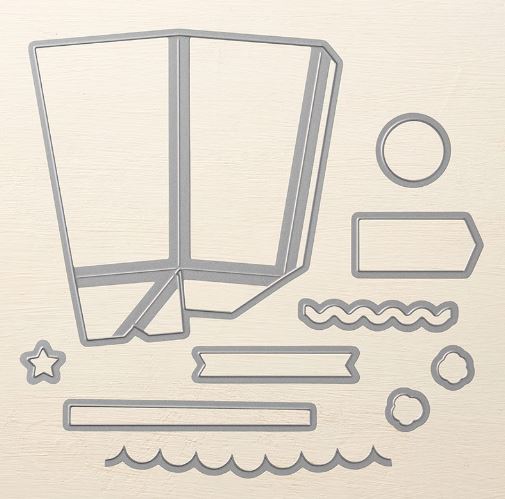
Framelits or Thinlits? What is the difference?

Recently I was asked what is the difference between framelits and thinlits?  To be honest that never crossed my mind as I just used it interchangeably in my projects.  For me as long as it did it’s job that is to cut my design I didn’t care if I was using one or the other.  It wasn’t until someone asked me on Facebook-Framelit or Thinlit? What is the difference? Did it get me thinking.  So What is the Difference?

Framelits or Thinlits

Framelits has an open center so you can place them anyplace you want on a stamped image.  You can use two of the same shape in different sizes to make a frame.  The magnetic plate is wonderful when working with these since it will hold the Framelit in one place.  These are very useful and come in a wide variety of shapes.  They are grouped so each is either smaller or larger then the one next to it.

Thinlits are detailed dies.  These have very detailed patterns and usually need to be run through the Big Shot several times.  Often, they are word dies where the letters connect with each other.  It is best to use the Precision Plate with this type of die.  This gives a more precise cut.  The very detailed dies can often be hard to remove the intricate small pieces.  The Precision Plate gives a sharper cut and helps avoid picking out those unwanted little pieces.

Some thinlits such as those for boxes and other 3-D shapes do not need the Precision Plate.  This type of thinlit or framelits may warp if used with the Precision Plate because they are made of a much thinner metal.  Use the Precision Plate only with the heavier, detailed dies.

In some of our Stampin’Up dies, there may be both Thinlits and Framelits in the package so it is important that you know the difference.  You can usually tell by the thickness of the metal.

Both are wonderful and have many uses.  A Big Shot and these dies can take your creativity a step higher.

4 Ways to Attach Intricate Cut Designs

The last couple of days have been down time for me as so much has been going on.  These down time days is what I really enjoy because I just craft to distress.  It’s these moments that I enjoy crafting and not think of anything or worry about my daily hustle and bustle.  It’s the same release I get when I go to yoga.  Well I created a couple of cards using the Sunshine Wishes Thinlits.  As I was adhering it to the card a light bulb lit.  How do I quickly and easily attach this delicate intricate cut designs? That’s when the light bulb lit and this blog post idea came to arise.  I thought if I’m thinking this, I’m sure you are too.  So I’ve tried and found 4 ways to attach intricate cut designs.

4 Ways to Attach Intricate Cut Designs

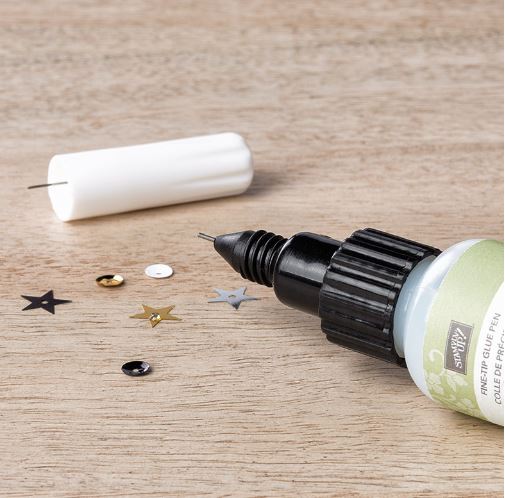
  1. Fine Tip Glue Pen:  The fine tip glue pen has a long fine tip to help adhere small embellishments, glitter and delicate paper cutouts to projects.  The cap includes a pin to keep the tip clear and prevent drying.  I will not lie, it has happened to me where I got distracted because the phone rang and I left the bottle open too long.  Well you guessed it, the tip dried and I couldn’t get the cap back on.  So I have done a couple of things and it has worked.  I have put the lid in warm water and it has unclogged.  I have also used the heat tool.  Check out  the This or that adhesive post I wrote a couple of weeks ago and it will outline how I used the heat tool.4 Ways to Attach Intricate Cut Designs
  2. Multipurpose Adhesive Sheets:  Multipurpose adhesive sheet is a sticky double sided sheet that sticks to your cardstock prior to cutting the intricate die cut through the Big Shot.  If your like me that crafts in between dinner, homework and more then you will love the multipurpose adhesive sheets.4 Ways to Attach Intricate Cut Designs
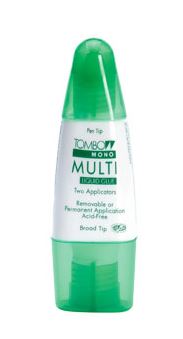
  3. Multipurpose Liquid Glue: This glue reminds me of school glue.  Only difference is that it is very sticky.  I normally put the intricate cut on my silicone craft sheet and use the thick tip of the glue to rub it on the cut.  I then lift it using my piercing tool and glue it onto the project.  For the silicone craft sheet I just wash it, and leave it to dry.4 Ways to Attach Intricate Cut Designs
  4. Mini Glue dots:  I admit this is my last minute go too, if I have 5 minutes to glue and run off to hockey.  I admit it is a bit big so I normally put it on and roll it so that it is not seen when I adhere it to the project.4 Ways to Attach Intricate Cut Designs

So there you have it, these are the five ways I attach intricate cut designs onto to my projects.  For more info on  the products click on the images above.

10 Ways to Craft on a Budget Without Turning Into a Hoarder

Every year Stampin’ Up publishes a new catalogue in June.  As a demonstrator one of the perks is that I get to preorder some of the new products.  But let me tell you that it is very easy to come up with a long wish list of wants.  This list can be deadly to your bank account.  Especially if you know that you haven’t used the items that you have ordered in the past.  So this is when you need to exercise crafting on a budget, or before you know it you’ll be in the red with your bank account.  Don’t get me wrong it is nice to have all the new products to play with, but lets be honest.  Accumulating product that doesn’t get used can be stressfull.  It almost made me feel like a craft hoarder.  So I created a list of 10 ways to craft on a budget without turning into a hoarder.  I use this checklist when I create my wish list of products I’m in love with.  Once I’m done creating my wish list I then use a checklist to recheck my wish list and I start to eliminate products that I  can wait to order later.  This helps me avoid becoming a craft hoarder.

Craft on a Budget


  1. Set your $$ budget.
  2. Make a list of what you’d like to have by categories: tools, cardstock, inks, accessories, embellishments, etc.
  3. Decide if you want to stay in one color family or more than one. Coordinate your purchases by color.
  4. Prioritize each category into sections: must have, good to have, not needed immediately.  I usually put the emphasis on tools. Too many projects rely on basic tools, like a trimmer, to get the best result in your finished project.
  5. Check around your house to see if you have substitutes for some basic tools.  For example, you might have a pair of scissors that will serve until you can purchase a better pair, or, in a pinch you can sub a pushpin for a paper piercer.
  6. Look at ways to get more out of your cardstock:
  • After cutting your cardstock or designer series paper layers, die cut shapes out of the center of any layers that will be covered by another. Not only will you have some die cuts for a future project, but no one will ever know that you used the center of a layer.
  • Tie a bow BEFORE cutting the ribbon, thread, or baker’s twine off the spool. You won’t waste as much!
  • If part of a die cut will be covered, let the framelit or thinlit hang off the edge of the cardstock or paper and cut a partial die cut.
  • Punch shapes from cardstock scraps.
  • Use left over ribbon scraps to create a design on a project.
  1. To avoid duplicating supplies, keep a list of what you have and as you use it, convert that list into a shopping list.
  2. Store your cardstock and Designer Series Paper in file drawers or another dark area. Sunlight and heat are paper’s worst enemies!
  3. If your state has an annual back to school sales tax break, take advantage of it to stock up on adhesives and other items that may be covered.
  4. Have fun!

Now I bet that all this has peaked your interest in wanting to check out the new products, which will be available on June 1st.  So check it out here.  There  is a sneak peak of new items available here. Remember to check the retiring items while you are in the shop.  Some items are reduced.

Quick DIY Mother’s Day Cards

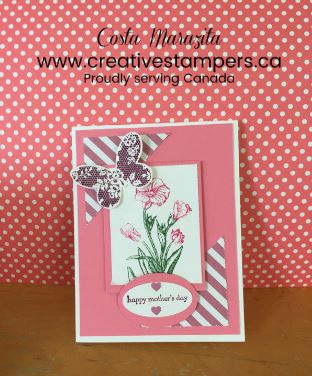
Mother’s Day is this Sunday and our daily hustle and bustle of life sometimes leaves us last minute scrambling for Mother’s Day cards.  That’s what happened to me so this morning I decided to make 2 quick  DIY Mother’s Day Cards.  They took me no time to create and I used up left over items I had.  So do not stress if you do not have the exact same paper or stamps that I do.  All you need is the layout idea and improvising of the materials with what have on hand.  I’m hoping my mother and mother-in-law really love the card.

If you are looking for tips, inspirations or exclusive tutorials do not forget to join the creative crafters club.  You will not regret it and if it is not for you, you are welcome to unsubscribe, no questions asked.  DIY Mother's Day Cards

DIY Mother's Day Cards

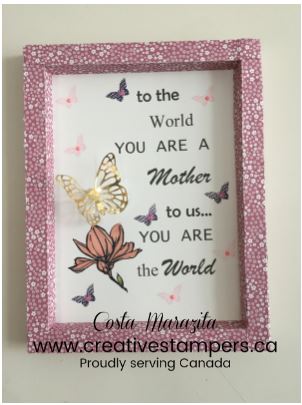
DIY Mother’s Day Frame

DIY Mother's Day Frame

Mother’s Day is just around the corner and making Mom feel special makes us moms feel appreciated. Especially, after being up many nights because that fever didn’t go down, or a child snapping at us because they didn’t like the chicken Alfredo dinner we made. To feel that the little things we do is appreciated. So whether your in need of a creative push or you want the kids to make you something special while you sit and enjoy a cup of coffee with 10 minutes of quite, I’ve got the perfect, easy project for you and your kids. The DIY Mother’s Day Frame. You see I’ve made this so fun for your kids. I’ve created the PDF file. Just print out the PDF I’ve provided on an 8.5″ x 11″ card stock. I used Whisper White card stock from Stampin’ Up. I put it in the print and printed the attached card stock. Then get the kids to decorate it with stamps, glitter, embellishments or if you love there creativity they can create flowers by inking their thumbs. Or you can print and create a frame for your own mom. Once your done decorating the print out then create the frame, which you can pick up the free PDF tutorial here. There you have it! Quick, easy DIY Mother’s Day frame that any mom would cherish for years to come.

Supplies Used:

Whisper White Cardstock

Butterfly Basics

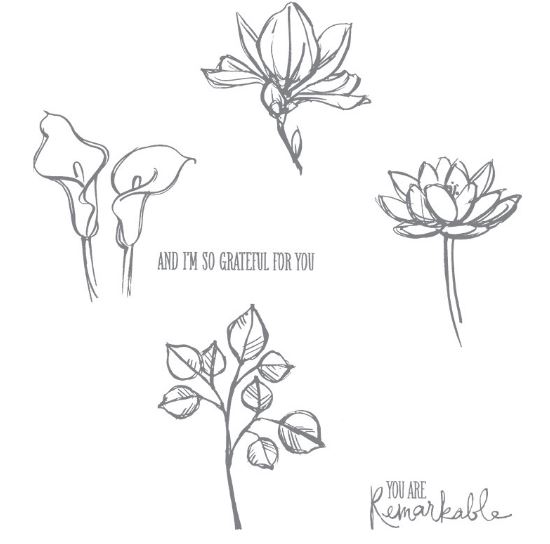
Remarkable You

Flirty Flamingo

Light Old Olive Blend

Light Calypso Coral


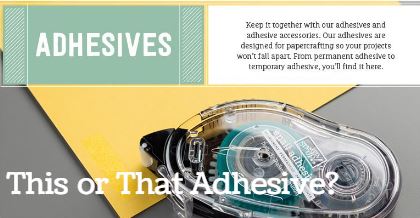
This Adhesive or That Adhesive? 8 Types of Adhesive to Choose From

Which Glue Is the Right One for my project? I remember my first paper crafting project that I created. It was my sons baptism invitation and I really loved the silver glitter paper background that I attached to it.  It made the invitation look so elegant and simple, but boy let me tell you that was my  first lesson that the right glue is needed if you want your projects to stay together.  You see I learned the hard way after gluing 50 invitations and they all fell apart, that choosing the right glue for you project is very important.  I then fell into the trap of do I choose this or that and which adhesive is the right one for my project?  I have to say I use Stampin’ Up adhesive and I find them of very good quality.  I can count on it not failing me.  Stampin’ Up has eight types of adhesive.  Each adhesive serves a purpose and for whatever reason you are using it for you can count on it fulfilling that purpose.

Types of Adhesive

Stampin’ Up’s 8 Adhesives and Which project can I use it for?

1)  Tear & Tape Adhesive:  This is one of my favorite adhesives to use.  It is double sided, on a roll and easy to tear.  This baby can hold anything and everything.  I use it for cards, favors, tags, loot boxes and more. I have made a ton of favor boxes and this adhesive is strong enough to hold those favor boxes together.   I have not yet had one fall apart and lose the contents in the boxes.

2) Snail Adhesive:  For those quick on the go project this roll on adhesive is the go too adhesive.  Great to use when making special cards for that special someone and it is refillable.

3) Multipurpose Glue: I will admit this glue reminds me of school glue just a lot more sticky.  For someone that is always in rush, which I am always in rush, I will admit this is not one of the glues that I turn to first.   I’ll be honest this glue is REALLY good, but when I only have 2 minutes here and there to complete a project, I can’t sit and wait to hold or dry.  We all live a rush life with many obligations and when my 3 kids are constantly pulling me in every direction, 2 minutes is not going to cut it with this glue.  This glue is wonderful if you are trying to adhere glitter, and embellishments.  It comes with two tips, a narrow one and a broad tip.

4) Fine Tip Glue: This glue is perfect if you are trying to glue delicate paper cutouts or small embellishments.  The only thing you need to remember to close it immediately when done or it will dry and not close.  There is a long pin on the cap to prevent it from getting clogged.  But if you are like me and get distracted in the middle of a project and forget to close it don’t fret.  It will probably be clogged but no worries, just use your Stampin’ Up heating tool and it will melt the glue.  Remember not to not keep your hands where the heat is.

5) Mini Glue Dots: This is my second favorite adhesive.  It is my go to when I need to glue something quick or if it is too small for the tear and tape.  This is wonderful glue if you want to hold a heavier embellishment into place.

6) Multipurpose adhesive sheets:  If you want to make sure those big shot cut outs stick and stay down then this sheet is for you.

7) Foam Adhesive Strips: If you are like me and love adding bling to you project then you will want to stock up on one of these.  These strips are perfect if you are creating shaker and/or spinner cards.

8) Stampin’ Dimensionls: If you are looking to add depth and dimension to that special project then you need to stock up on dimensionals.  They are double sided foam dots to give your project the extra pop.

So the next time you are working on a project and you are not sure whether to chose this adhesive or that adhesive just check out the above list and chose the right one for that perfect project.  And to help you out, I’ve created a PDF file for you to print and keep near you to refer too. Just click here to get your hands on it.

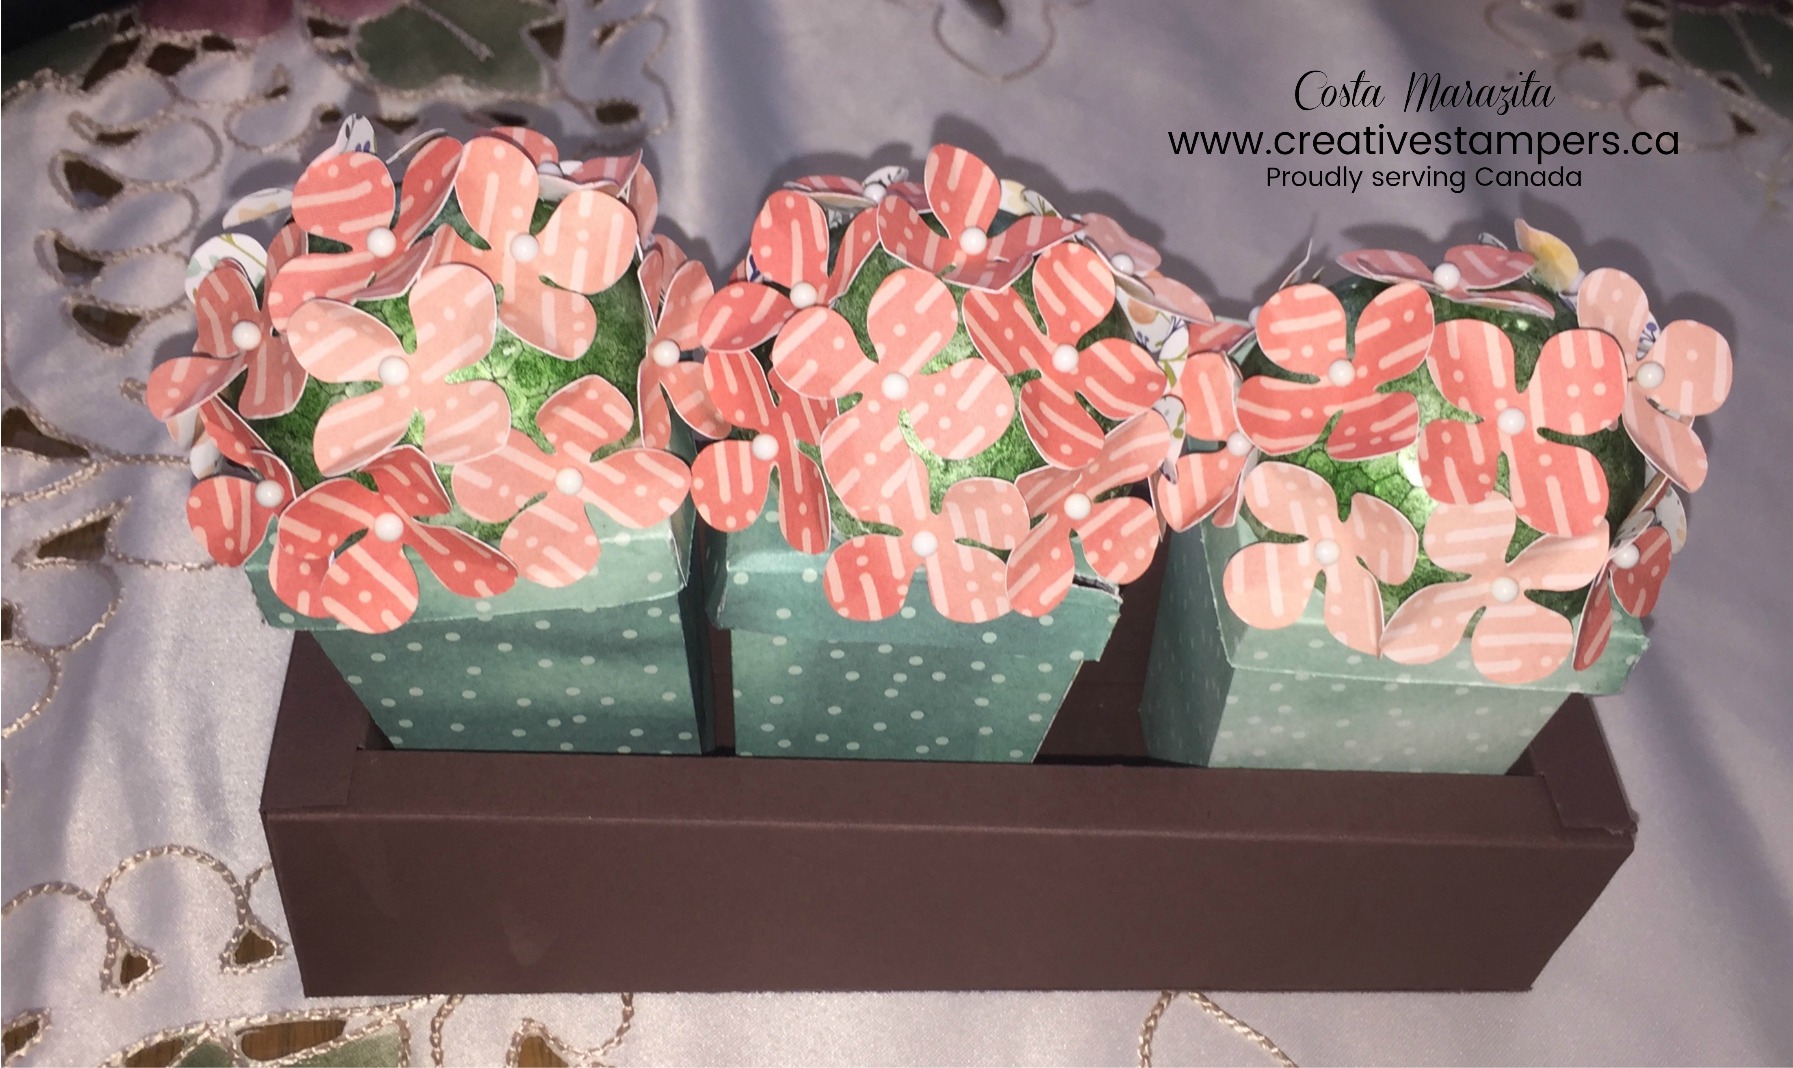
DIY Mother’s Day Flowers That Your Mom Will Cherish forever.

Easter has come and gone and Mother’s Day is quickly approaching.  With only 5 weeks away I normally start doing my brainstorming, since I love to have my class make something special for their moms as well.  I normally spend time brainstorming and creating projects to ensure that 7 and 8 year old children not only enjoy making but take pride in making something special for their moms.  I’ve come up with some ideas, but due to time constraints I will be sharing a couple of ideas.  The first is diy flowers.  After all, all mother’s love flowers and why not show them love with some diy Mother’s Day flowers that they will cherish forever.

This project took no more than about an hour to make.  Below are all the supplies used to make the project.

DIY Mother's Day Flowers Mom Will Cherish Forever

DIY Mother's Day Flowers That Mom Will Cherish Forever


Supplies Used: I used a Styrofoam ball cut in half and glued them onto the lid that I made for the popcorn box.  I then cut petals out of  designer series paper and used pushpins to pock them into the Styrofoam ball.  The card stock was 12″X12″.