12 Weeks of Sale-a-Bration

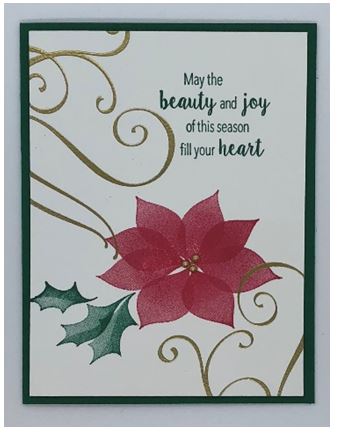
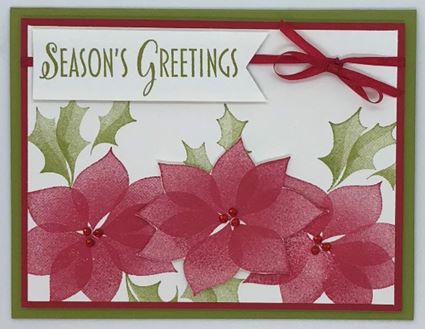
Our 12 weeks of Christmas with Robbie Rubala was a HUGE success that we have decided to join forces again and bring you the 12 Weeks of Sale-a-Bration.
Now I would like to take a moment to pour out our hearts.  Although, Robbie (www.creationsinpaper.com)  and I are both Stampin’ Up demonstrators, this is no desperate plea or sneaky sales pitch to purchase the products.  Our intentions it help you grow as a crafter and to offer you inspirations using products you already have.  This is no desperate sales pitch.  We are simply sharing the products that we use and can vouch for.  Our intention is to not recommend products we don’t use or are not happy to use.  If you are only interested in the FREE step by step projects that can be easily created, I will be delighted to have you part of my crafting family.

How Does It Work?

Every Sunday, starting January 6th, I will email you a new FREE project tutorial with a Sale-a-bration theme.  We will end March 24.

The 12 Weeks of Sale-a-Bration project sharing will be only available to members that are part of the Creative Craft Club. Here you will find a wide range of tutorials for every occasion, or special event.  So if you are not part of the Club you do not want to miss out. If you are interested in any of products used in the projects and you live in USA then please reach out to Robbie.  If you are from Canada I would be delighted to help you out.   In order to get on the Creative Craft club. Click here.

12 Weeks of Sale-a-Bration

That’s it!  Easy, breezy and lots of fun!


DIY Christmas Rosette

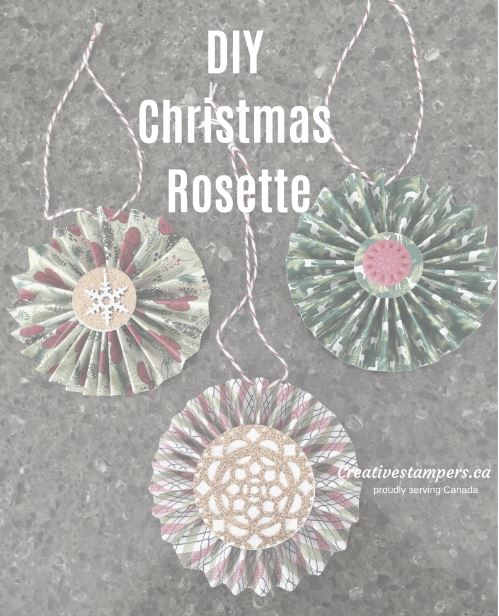
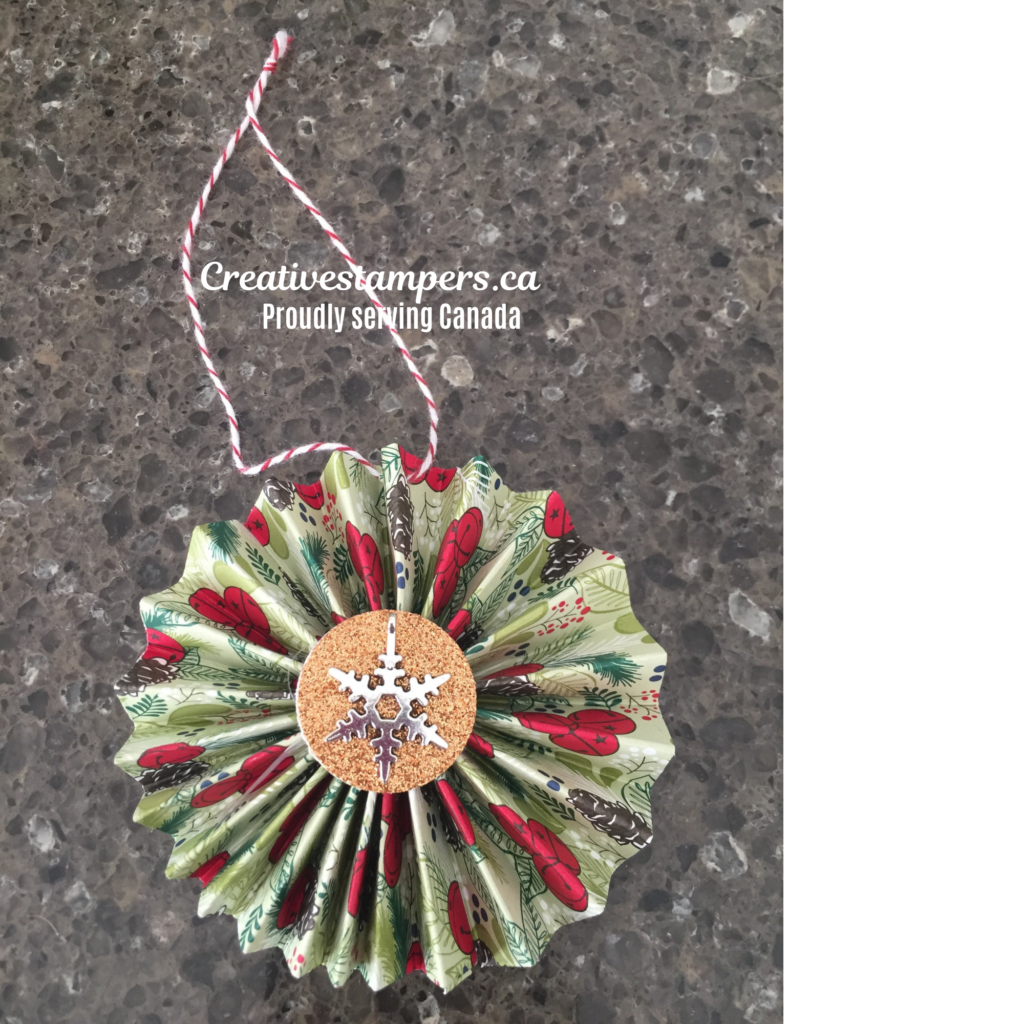
Christmas is 2 1/2 weeks away and I was listening to the radio this morning and the discussion was about stressing to get gift shopping done and tree decorating done.  Well I have a treat for you.  My post a couple of weeks ago was a hit. I showed 4 quick and easy ornaments that you could make.  Check it out here.  I had a huge response on the rosette. That today I am going to show you another DIY Christmas Rosette.  

DIY Christmas Rosette

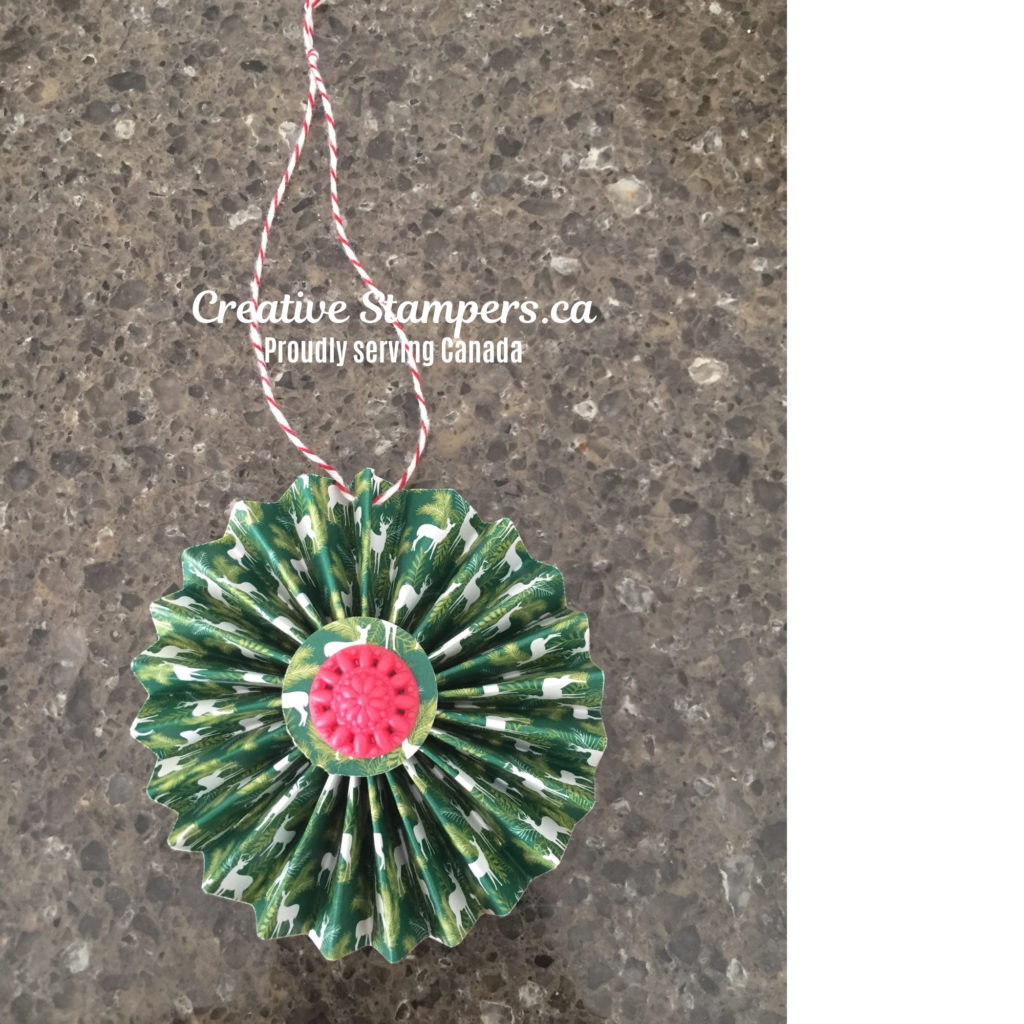
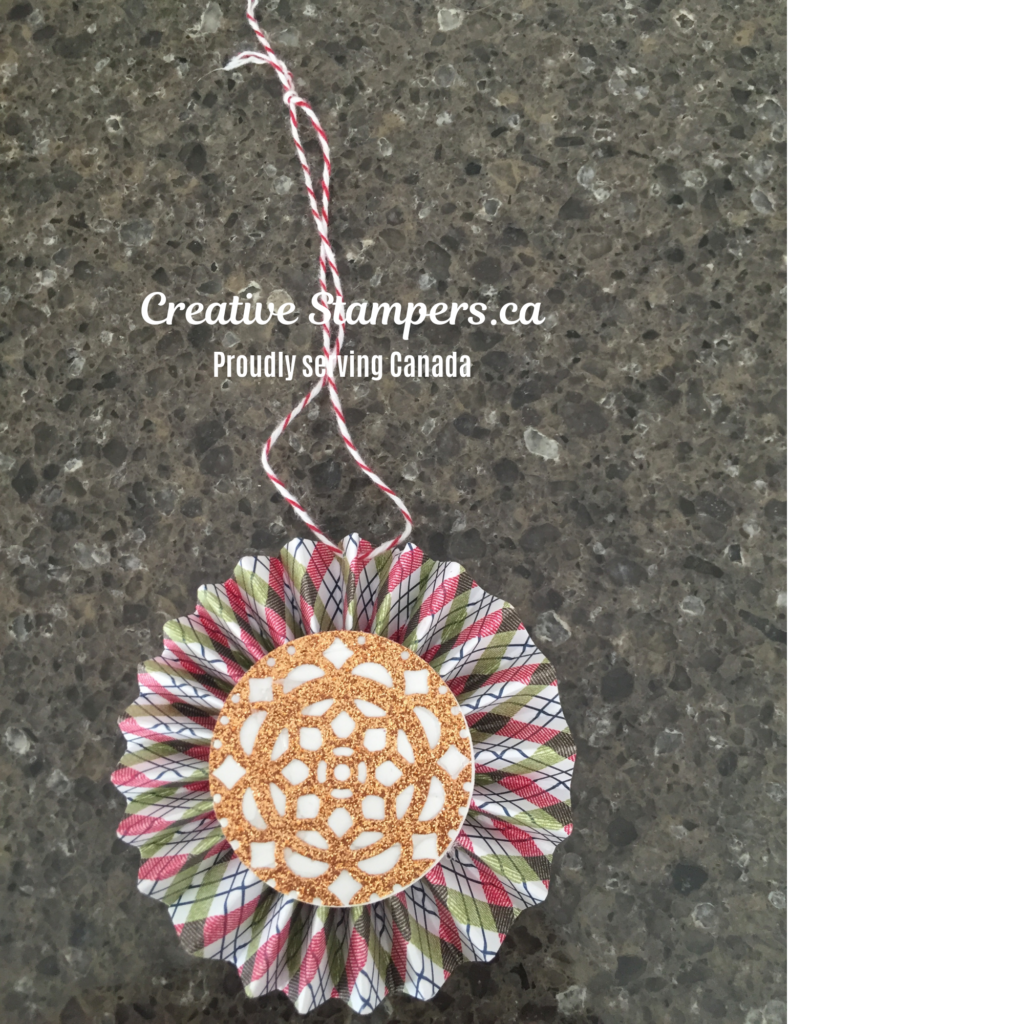
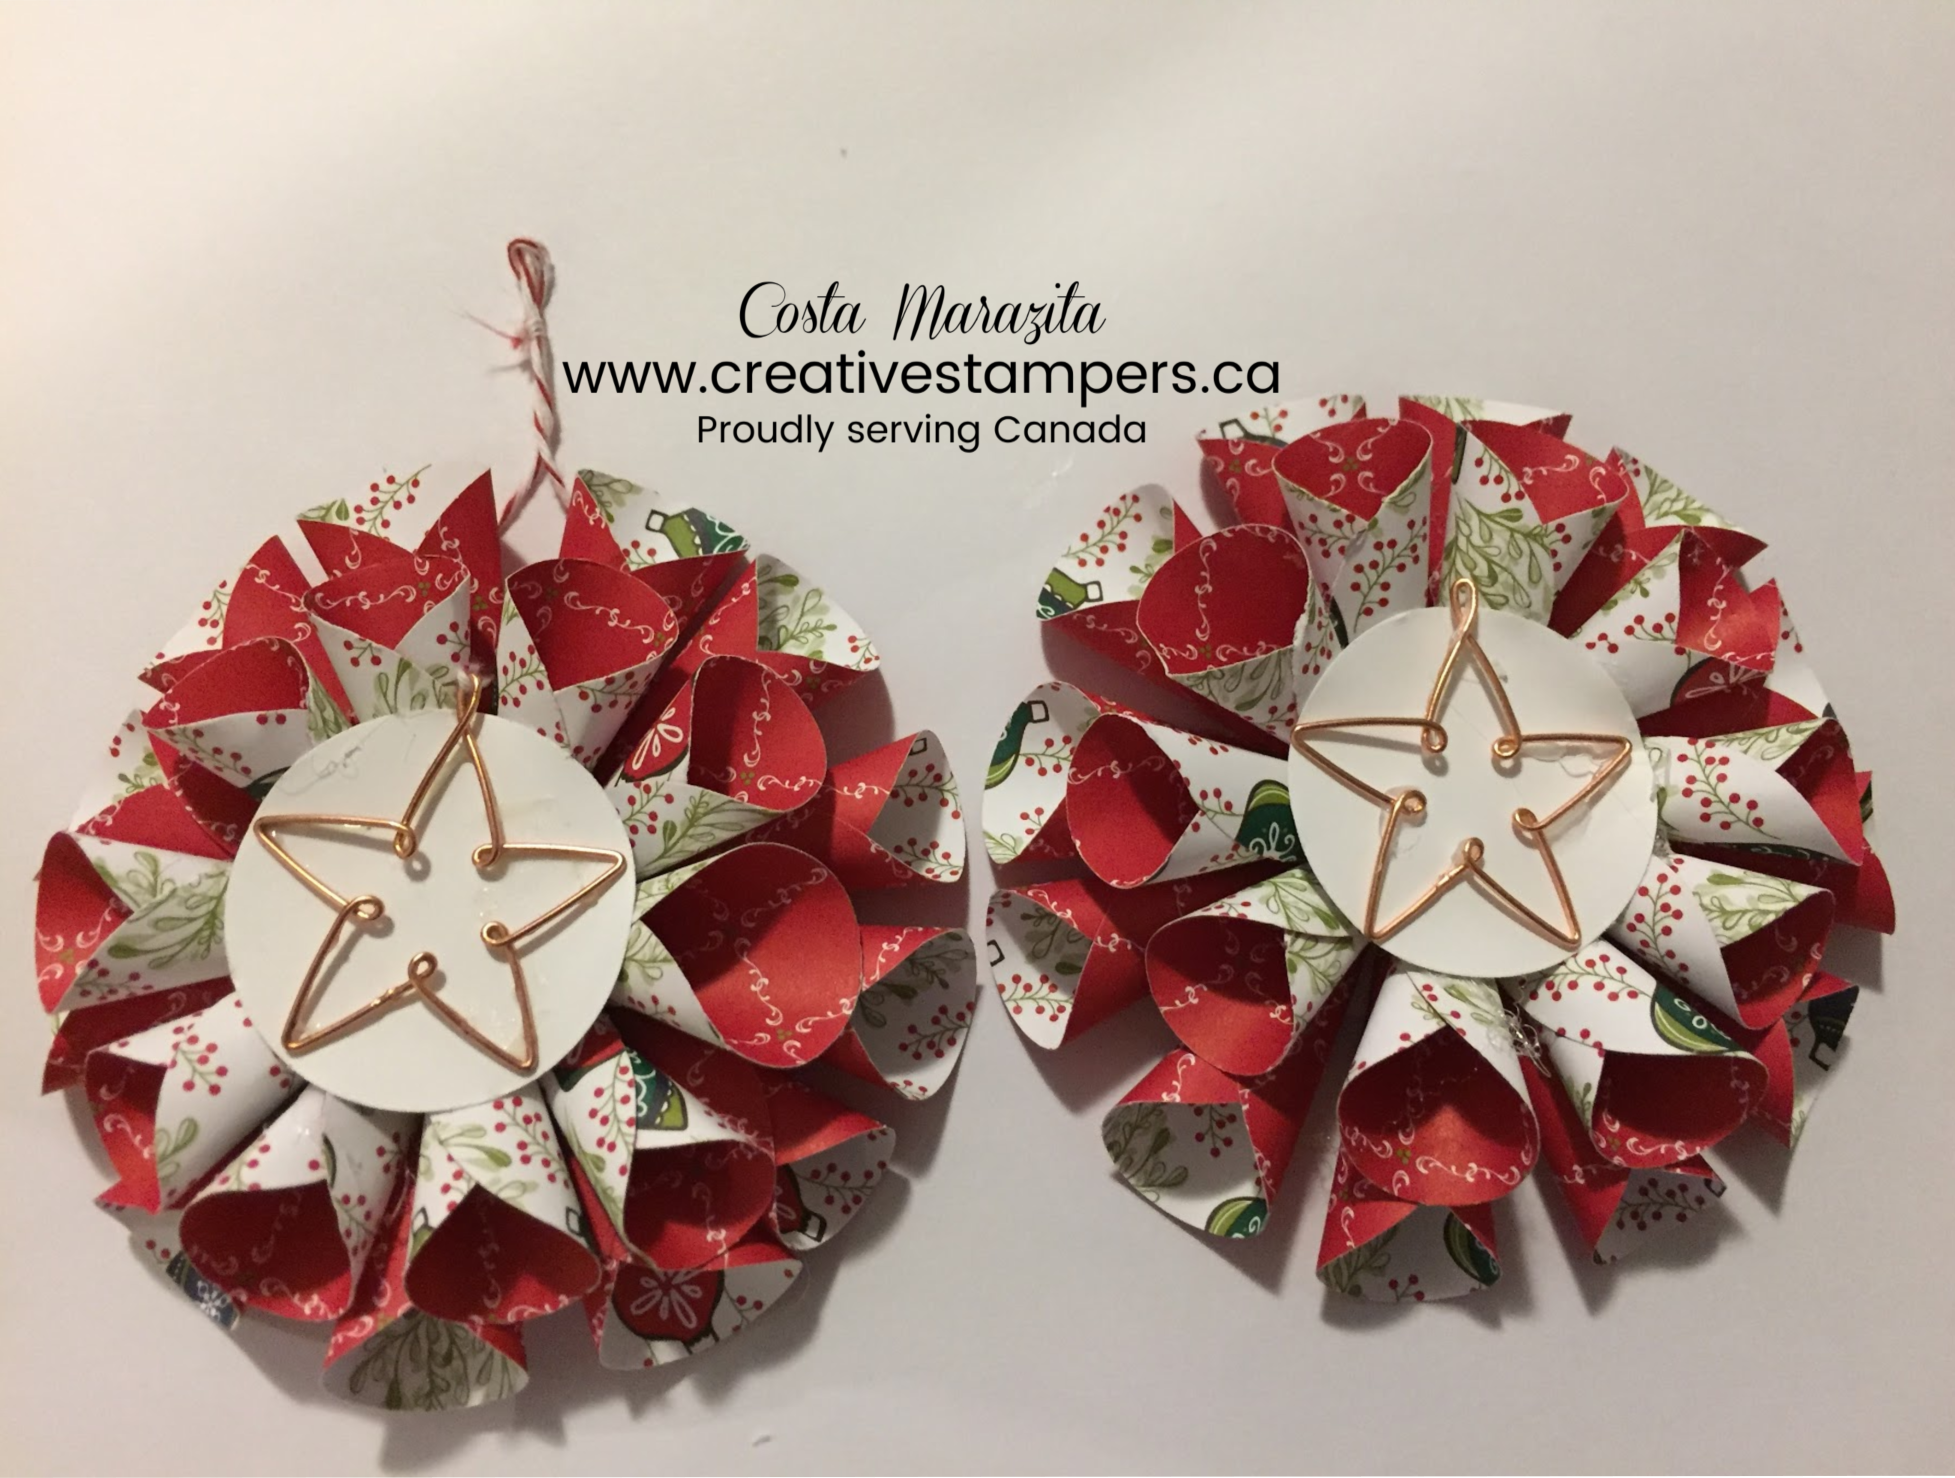
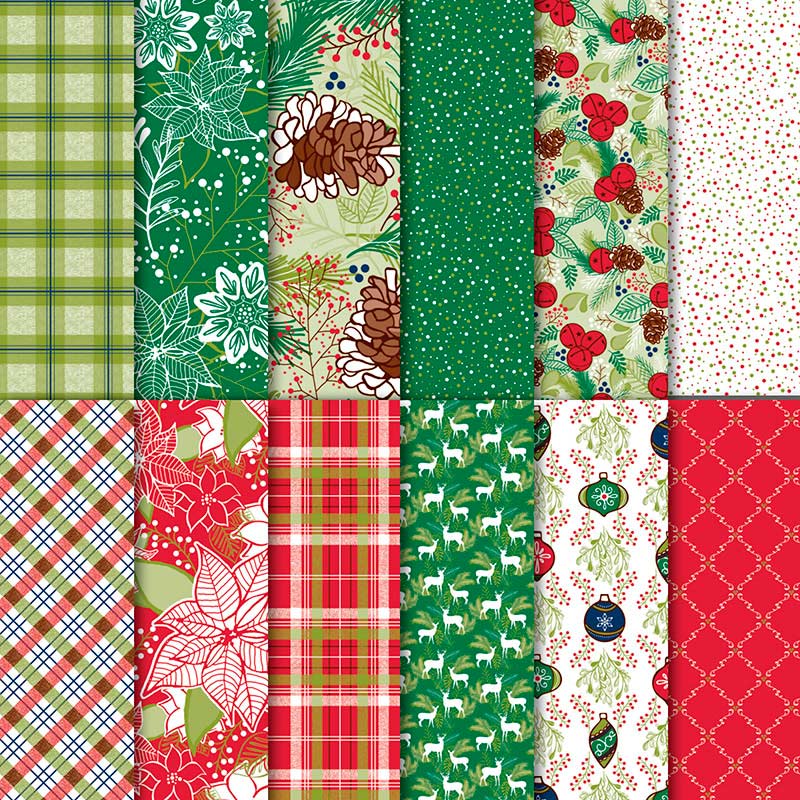
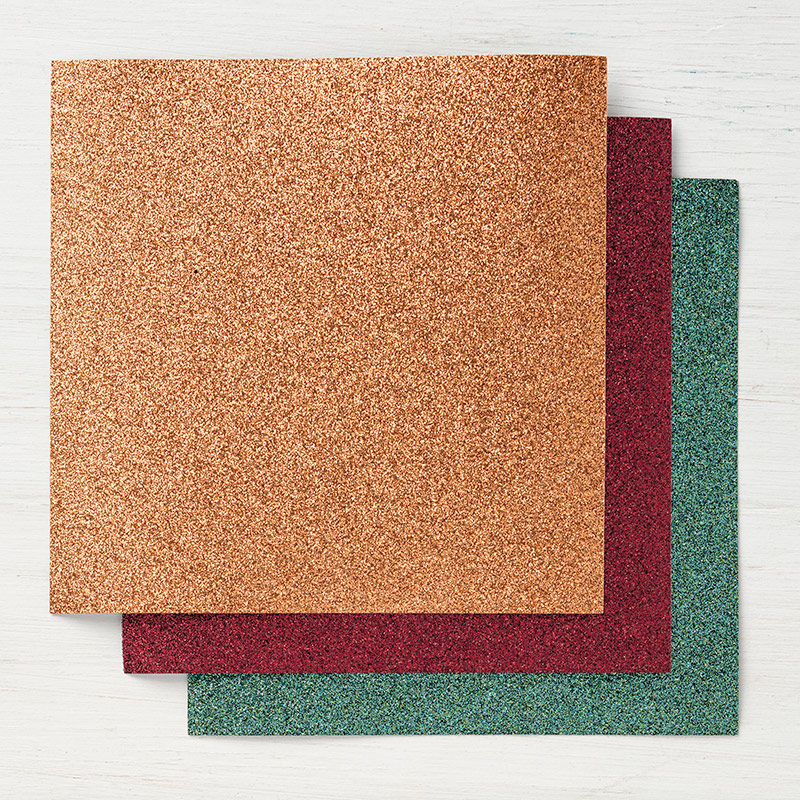
These are so easy to make and can be made any size.  I used 12″ X 12″ designer series paper/patterned paper or even glitter paper.  The sky is the limit with these pretty DIY Christmas rosette ornaments.  The best part you can use any embellishments  you have lying around the house. I’ll be honest I used some old/retired and new embellishments.  

To make these DIY Christmas rosettes-take your 12″X 12″ designer series paper and cut 12″X 1.5″.  You’ll need 2 pieces of 12″X 1.5″.  Take your score board and on the 12″ size score half an inch.  Do the same on the second piece of paper.  Fold the score lines into an accordion. Attach the two pieces together and form a circle.  Use your 1″ circle punch and punch two circles.  Form you accordion fan into a circle and adhere onto the 1″ circle.  One on each side of the accordion.  Now comes the fun part decorating it with any embellishments, stamps, glitter paper or more.  

DIY Christmas Rosette

4 Quick, Easy & Pretty Christmas Ornaments

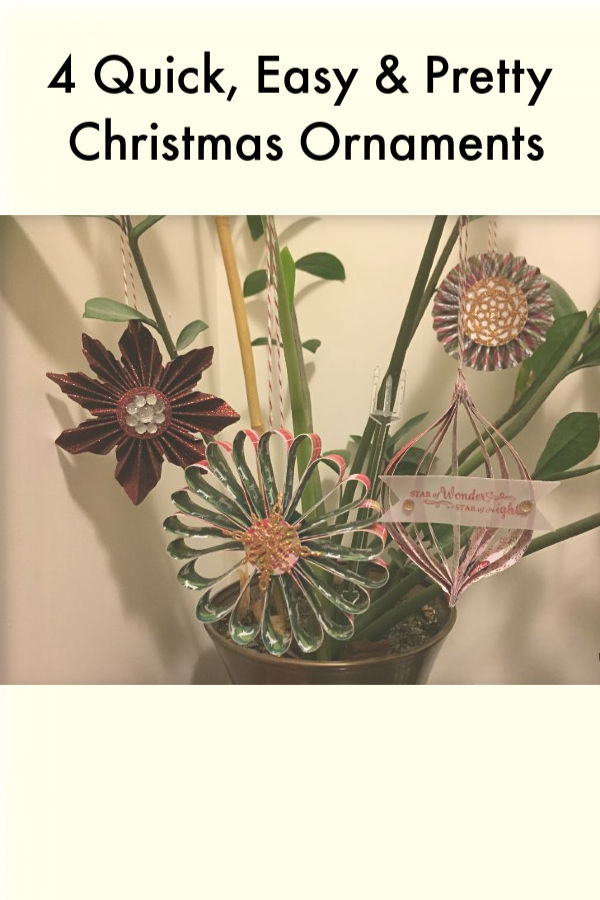
Halloween and Veterans day has ended and many are starting to think about Christmas.  We think about decorating the tree and making our homes feel festive.  I like to break it down down into small manageable projects .  One of the projects that I normally enjoy doing with the kids is Christmas ornaments.  We typically make about 4 quick, easy, and pretty Christmas ornaments in front the TV.  The kids love taking part in decorating the tree. It gets them all excited and festive.

4 Quick, Easy & Pretty Christmas Ornaments

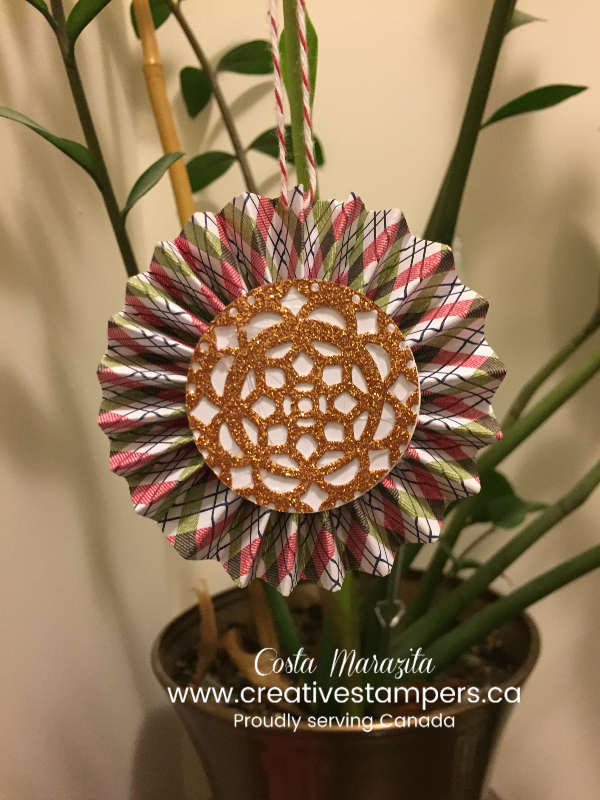
The Pinwheel:

Gather your favorite designer series paper.  I used Under the Mistletoe designer series paper.  Cut it 2″ by 12″. Scored it at half inch.  Attached it together into a circle and voila you have a pinwheel.  I decorated it by using some glitter paper and used the Eastern Medallions framelit to decorate the center.

4 Quick, Easy & Pretty Christmas Ornaments

Starburst Ornament

I used eleven pieces of designer series paper cut at 8″ by 3/4″.  Glued the center and just glued them inward.  Makes a pretty flower for your tree.  Add some embellishments in the center to add some pizzazz and done!

4 Quick, Easy & Pretty Christmas Ornaments

Paper Ornament

One pack of designer series of paper can believe it or not turn your tree into a spectacular decor in minutes.

4 Quick, Easy & Pretty Christmas Ornaments

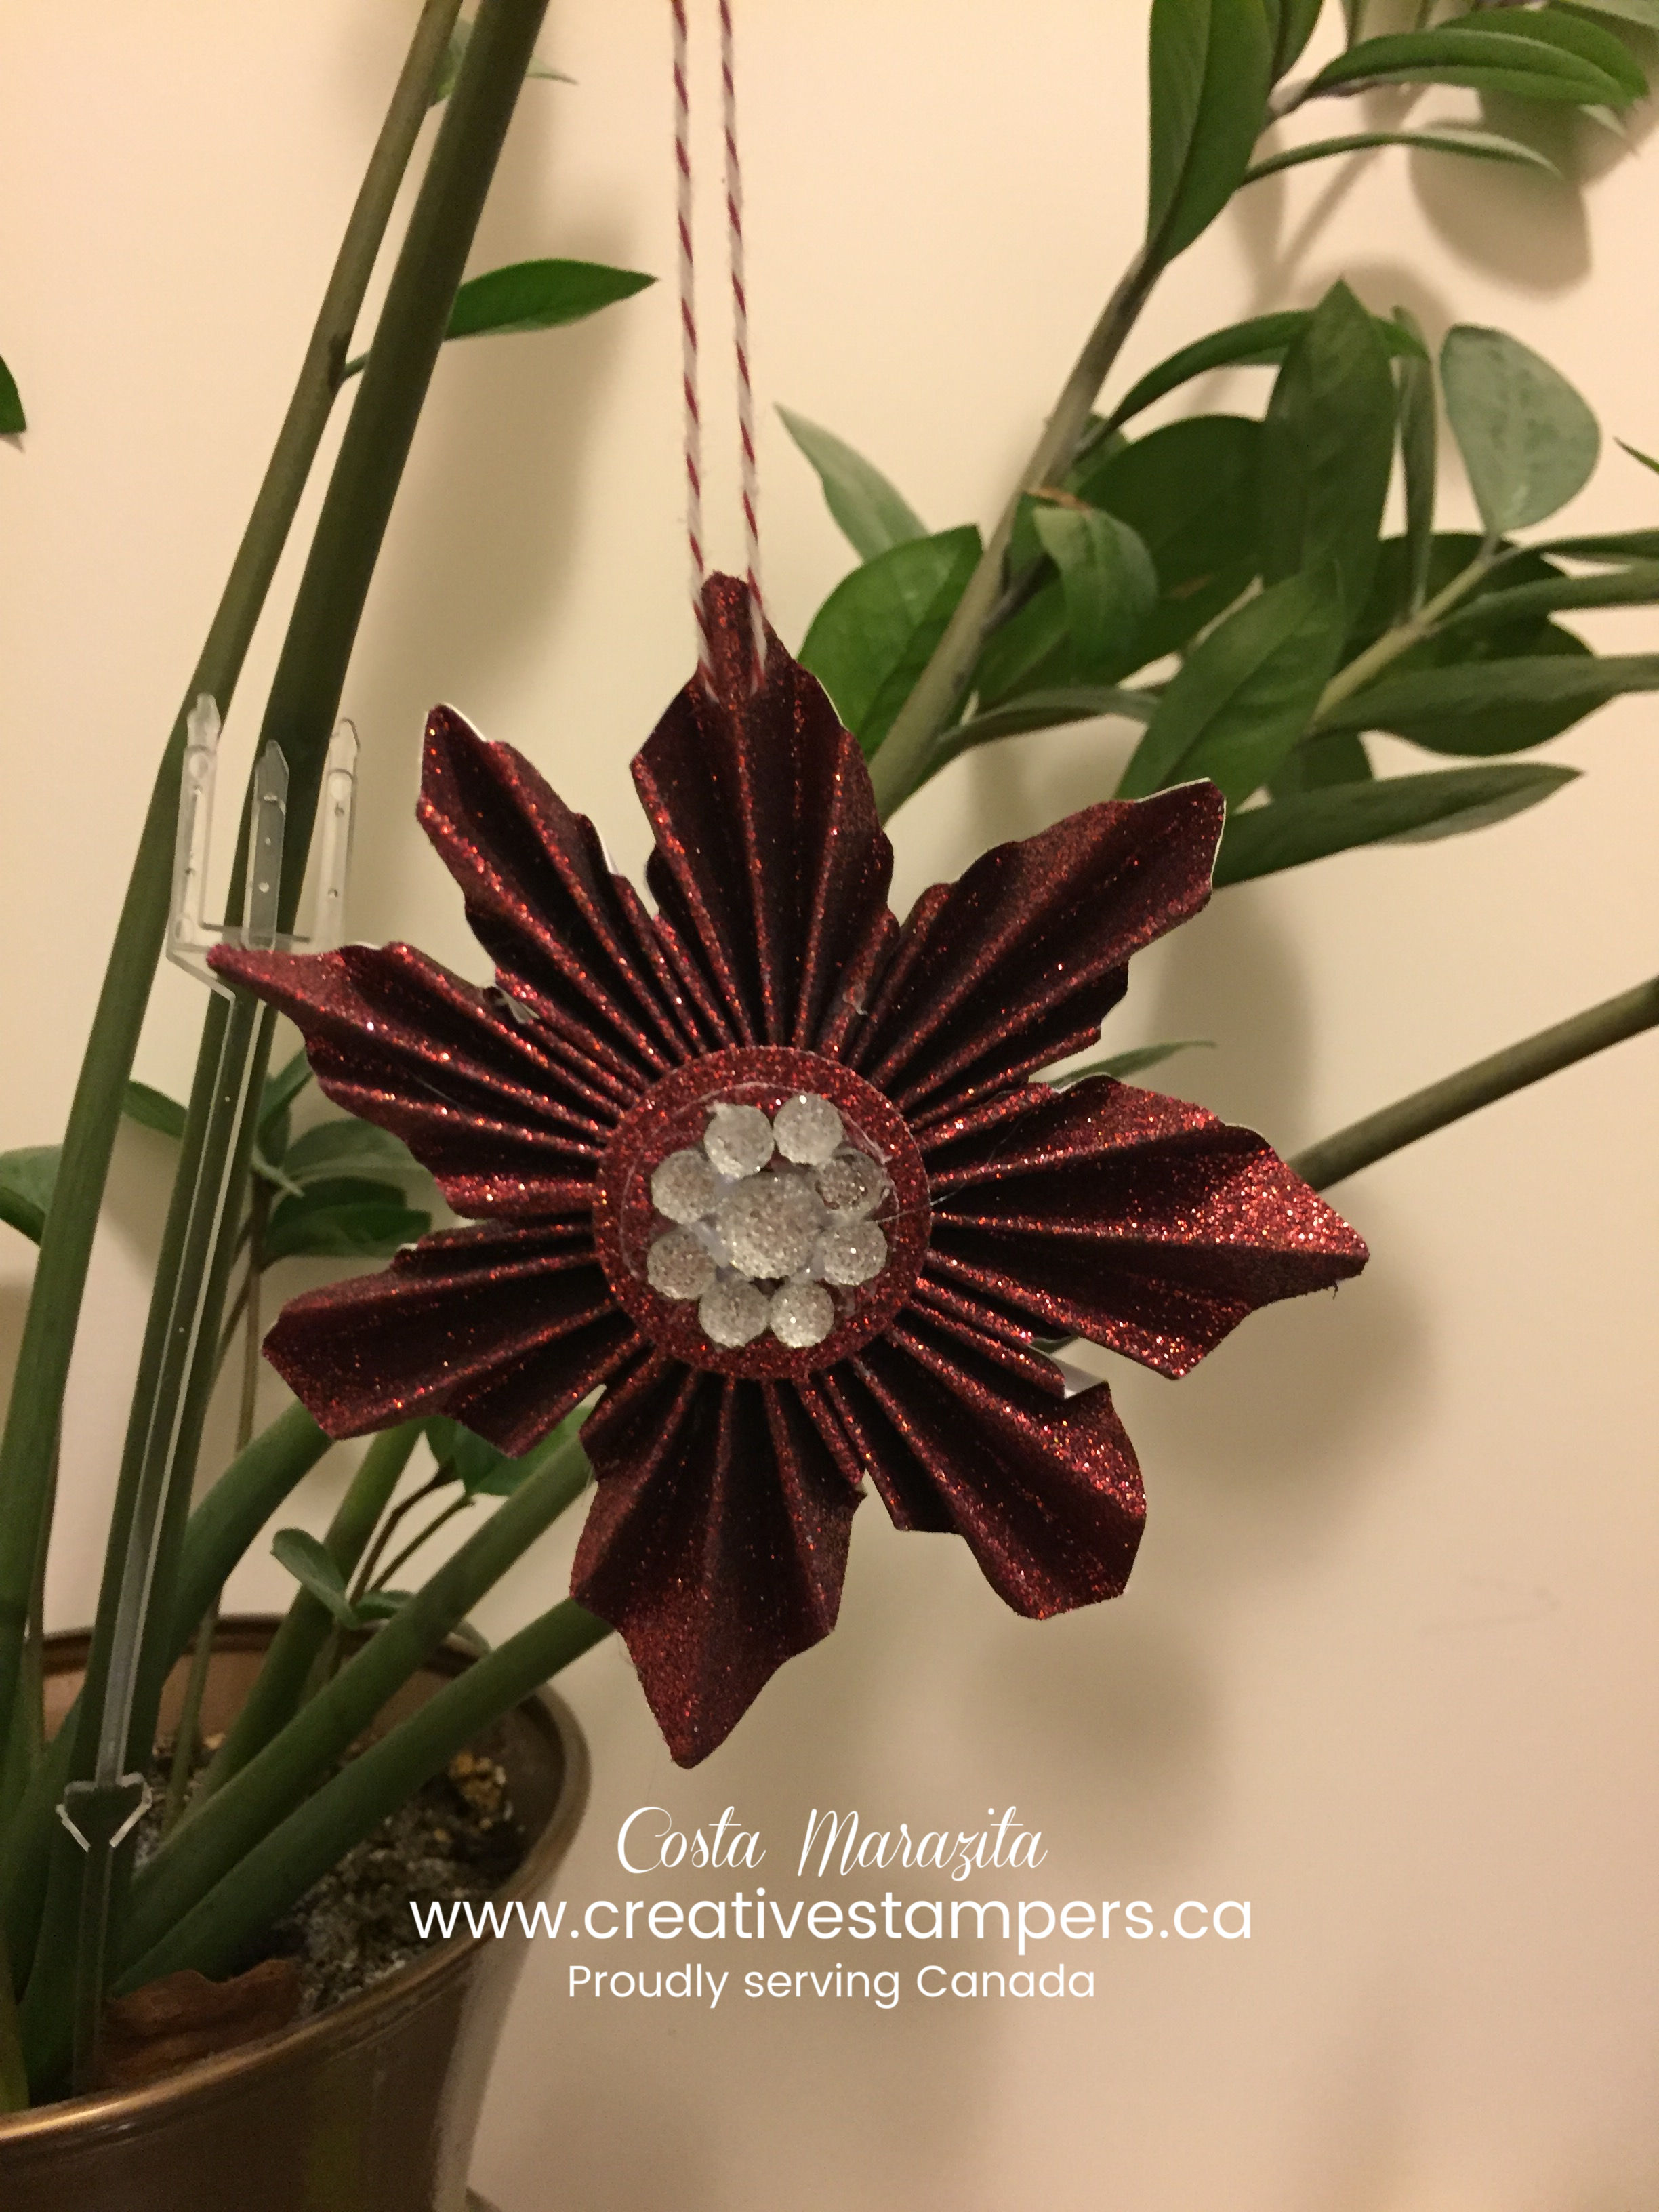
Poinsetta

This one is my favorite.  All trees needs some glitter and we all have some sitting around waiting to be used up.

4 Quick, Easy & Pretty Christmas Ornaments

Now if you enjoyed these ornaments and need more inspirations don’t forget to join the Creative Craft Club.  You will have access to the FREE resource library. It is filled with easy and inspiring step by step tutorials that will get your creativity flowing.  Check out what you missed last week.

4 Quick, Easy & Pretty Christmas Ornaments

So click the image above and join the many Creative Craft Club members who have  exclusive access to the FREE resource library.

Supplies Used: Click on images for more information on each product.

4 Quick, Easy & Pretty Christmas Ornaments
4 Quick, Easy & Pretty Christmas Ornament
4 Quick, Easy & Pretty Christmas Ornaments

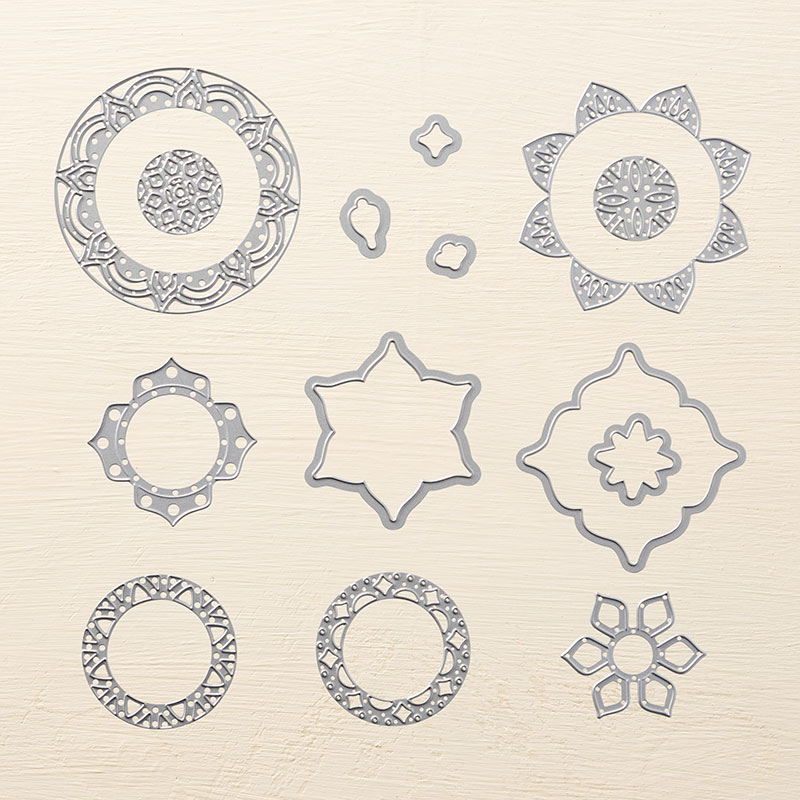
Eastern Medallions Thinlits Dies

Whisper White Solid Baker's Twine

Gold Faceted Gems
Clear Faceted Gems

5 Creative Halloween Favors

Halloween is 2 weeks away and it may be too early to think about those class loot bags or favors.  But what I learned last year is that waiting until the last week before Halloween leaves me with very little choice.  So this year I have begun my quest early in hopes to have 80 loot bags/favors and 5 teacher favors completed on time. With that said, I am know creating projects that will have any child feeling specials and wowed.  With that I have come with 5 creative Halloween favors that kids and adults would cherish.

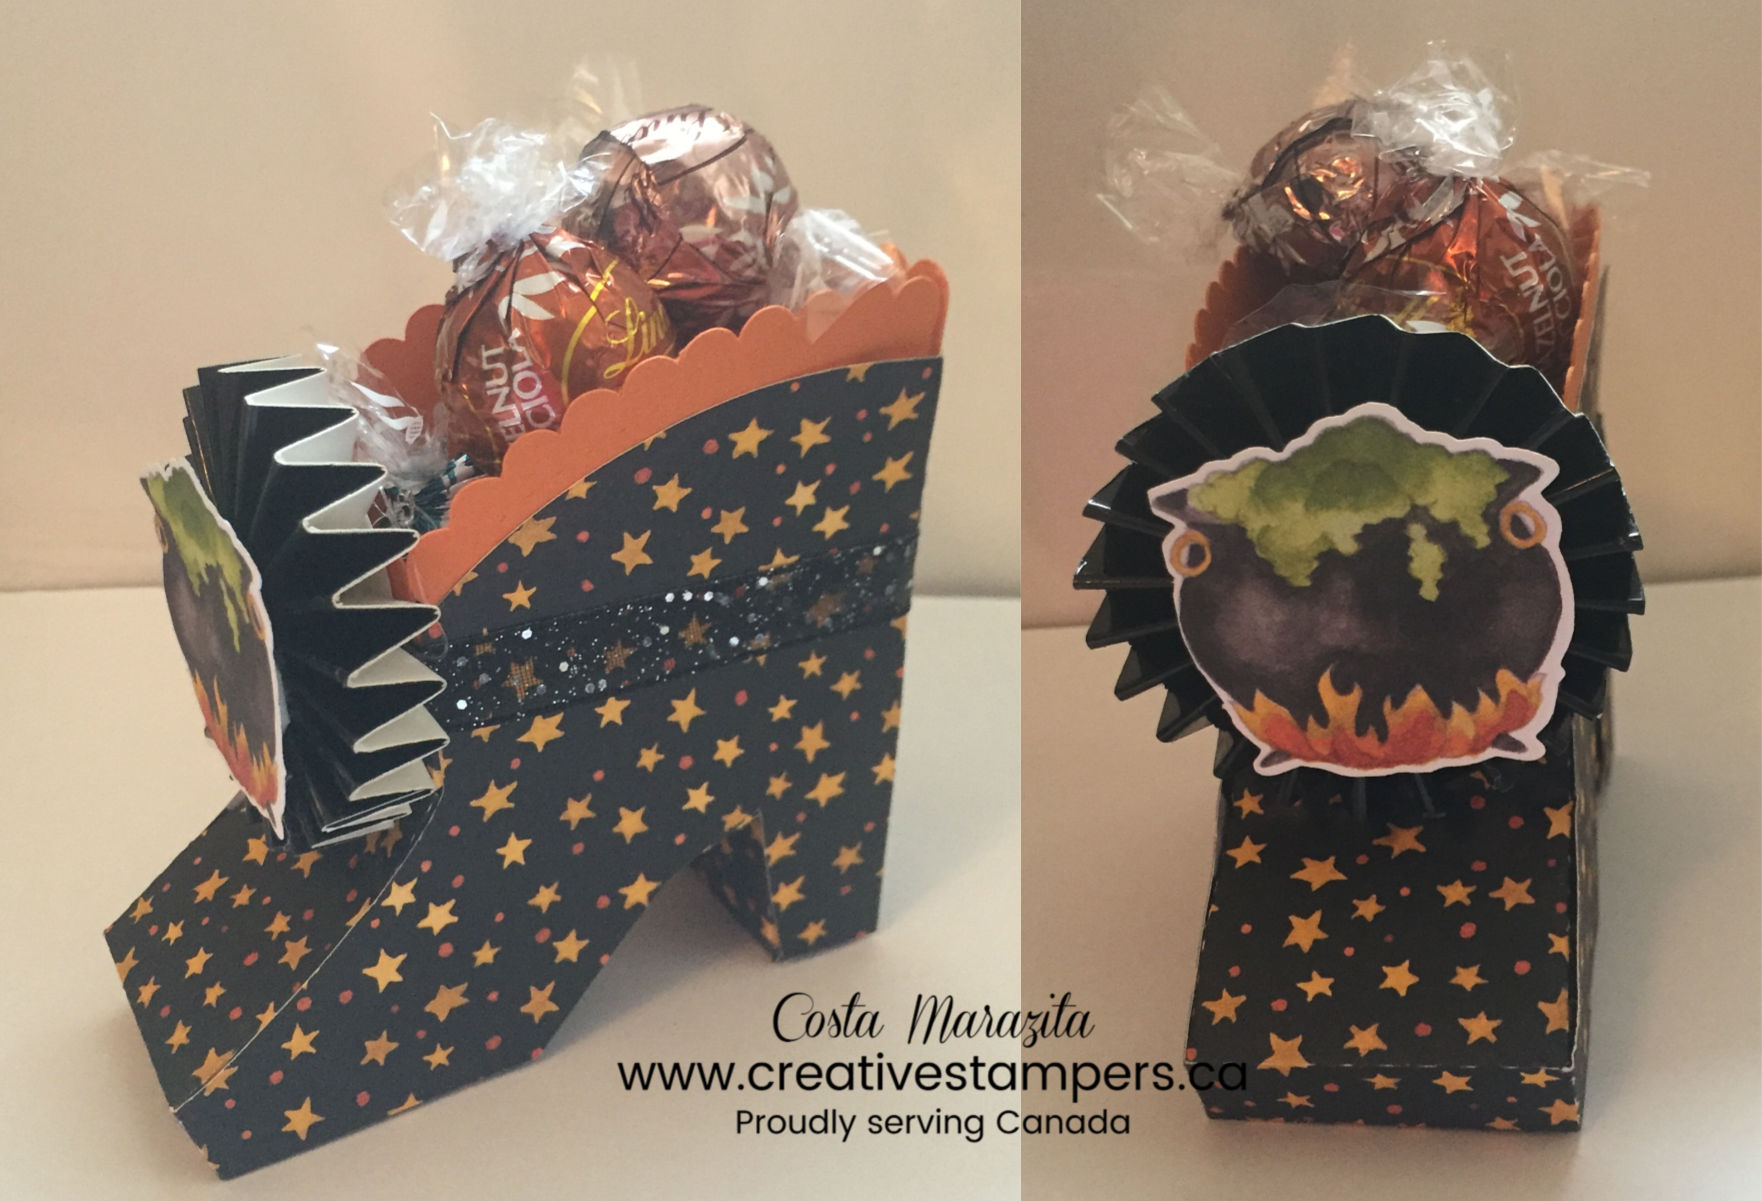
Witches Shoe

What better way to put a number of treats together.  Whether it is for a teacher or child, this treat holder will wow anyone. I can not take total credit for this.  This project was cut using my Brother Scan and Cut, which this is one of the free templates available to cut.

5 Creative Halloween Favors

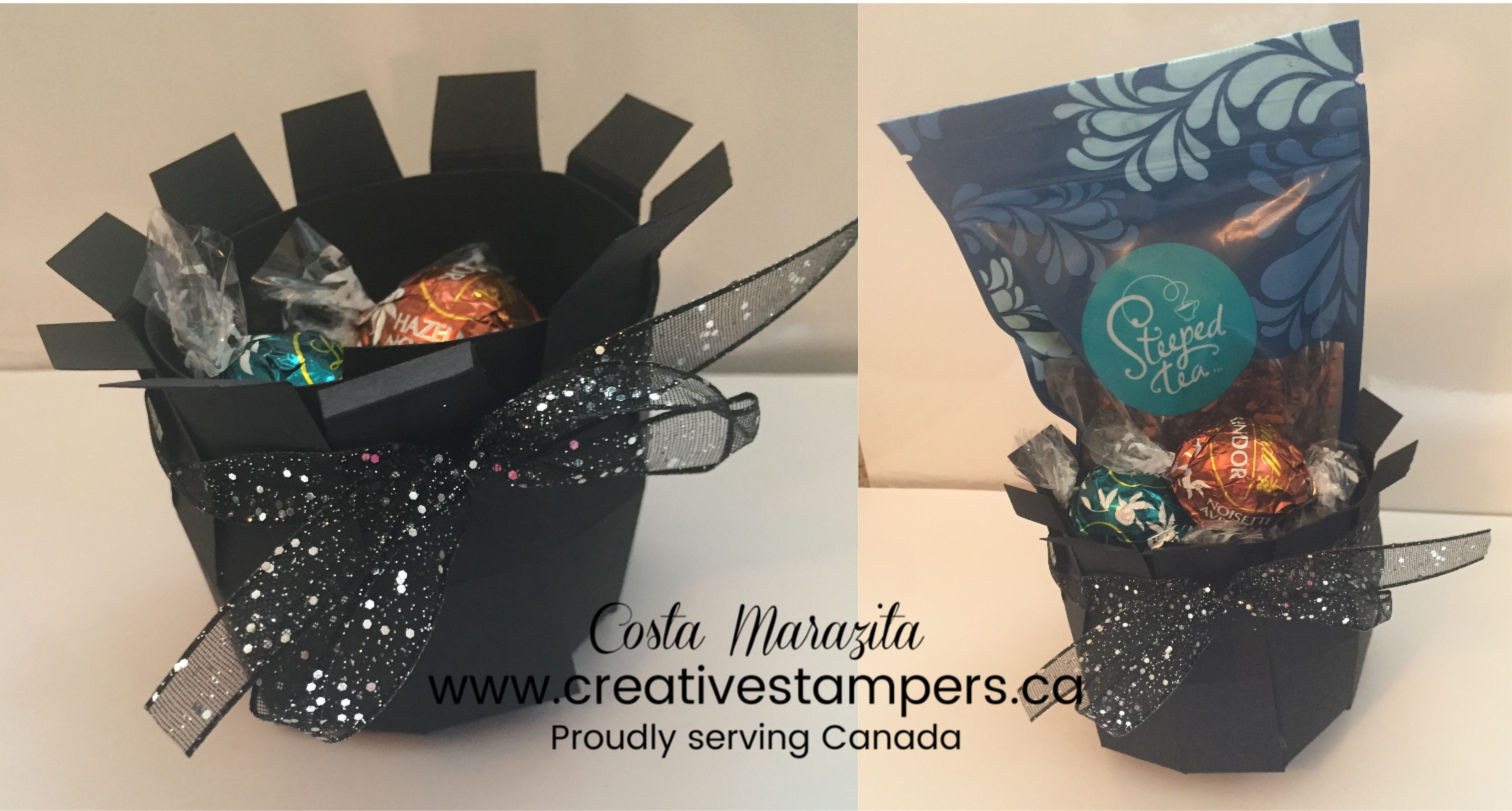
Cauldron Holder

Get some black card stock, and create the perfect  witches cauldron to hold all those sweets or even place a gift card in it.

5 Creative Halloween Favors

Match Box Holder

Who doesn’t love Hershey Nuggets.  This treat box is perfect to place 3 nuggets. If you love this project and want the step by step tutorial then join the Creative Craft Club to get instant access to the library.

5 Creative Halloween Favors

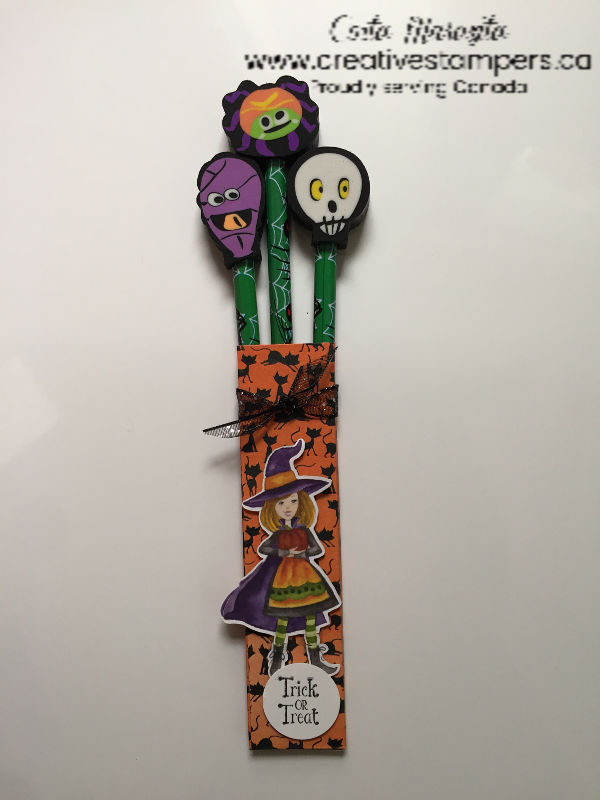
Pencil Holder

This one is for those teachers who are getting things together for the class.  This quick pencil holder will have your students cherish those pencils. This is also, a great treat idea if your child’s school is a no food zone.  What I mean is that the school will not allow Halloween food or candy due to the reason of the many allergies. Want the FREE step by step tutorial then join the Creative Craft Club.

5 Creative Halloween Favors

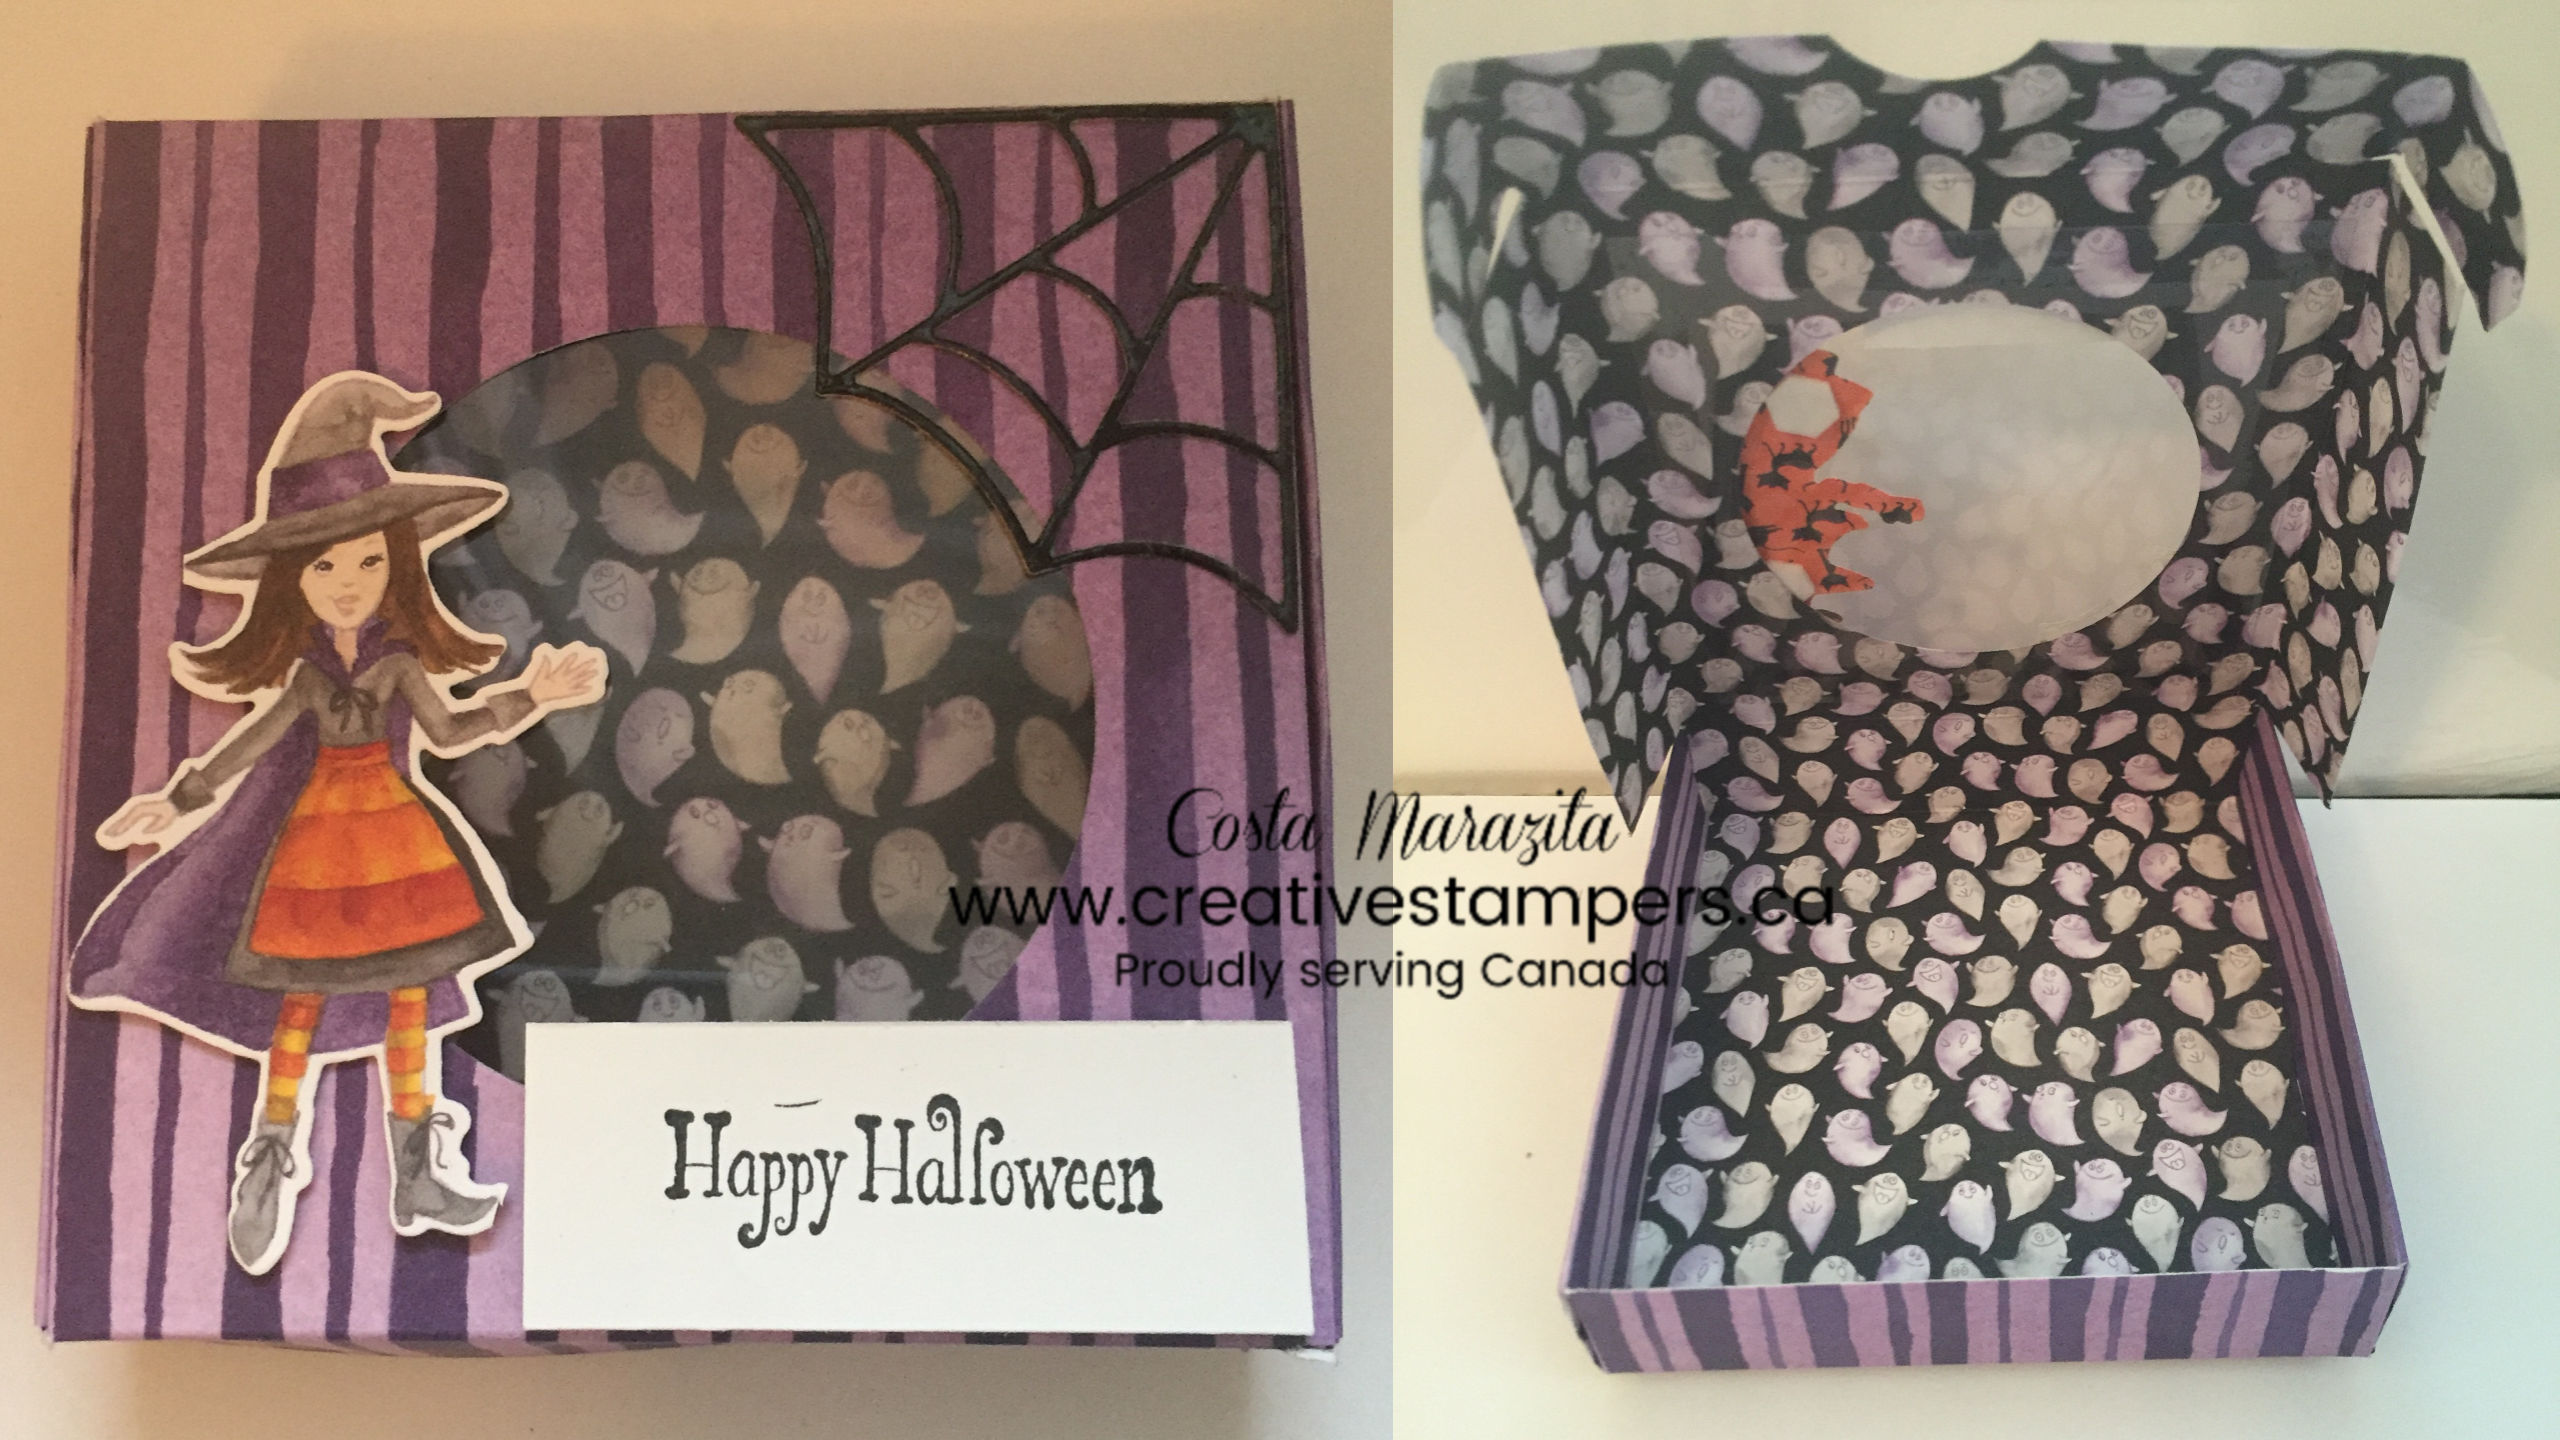
Pizza Box Holder

If you are on snack day with your child’s hockey or dance program then why not pack snack in a spooky treat holder.  Whether it is a cookie or your adding Halloween candy with those healthy snacks, this treat is great to win over the team. Anther step by step tutorial in the FREE library.

5 Creative Halloween Favors

Halloween Cupcake Holder

All kids love when they have a classroom party.  Why not pack those party cupcake treats in a nice treat holder so they can have it later.  This treat holder has a flip top which makes it easy for the kids to open and close.  Yes you got it this one is in the library too.  5 Creative Halloween Favors


Supplies:

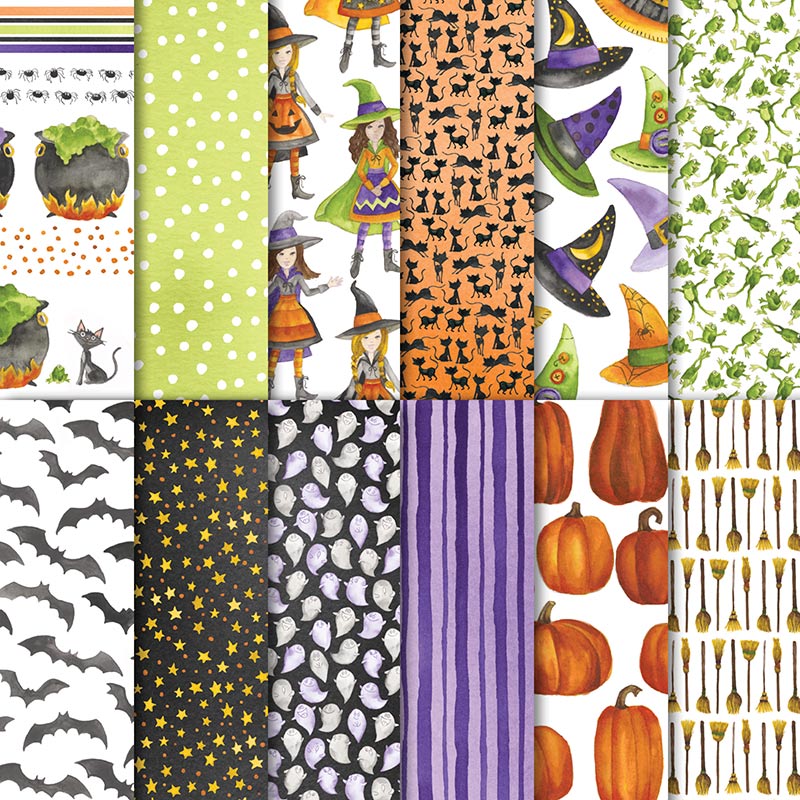
Toil & Trouble 12" x 12" (30.5 x 30.5 cm) Designer Series Paper

Toil & Trouble 12″ X 12″ (30.5 X 30.5 Cm) Designer Series Paper


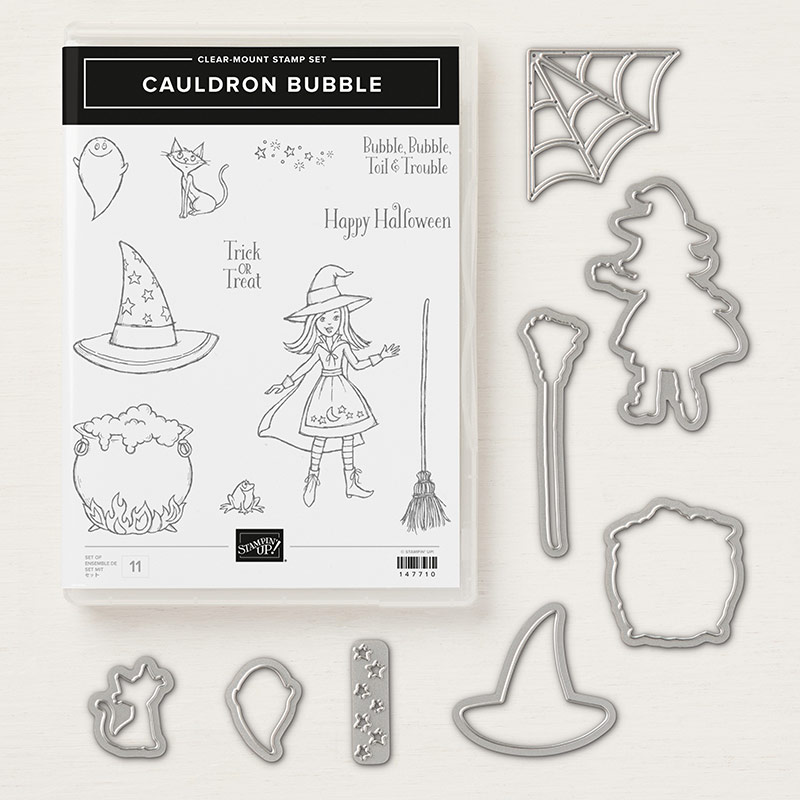
Cauldron Bubble Clear-Mount Bundle

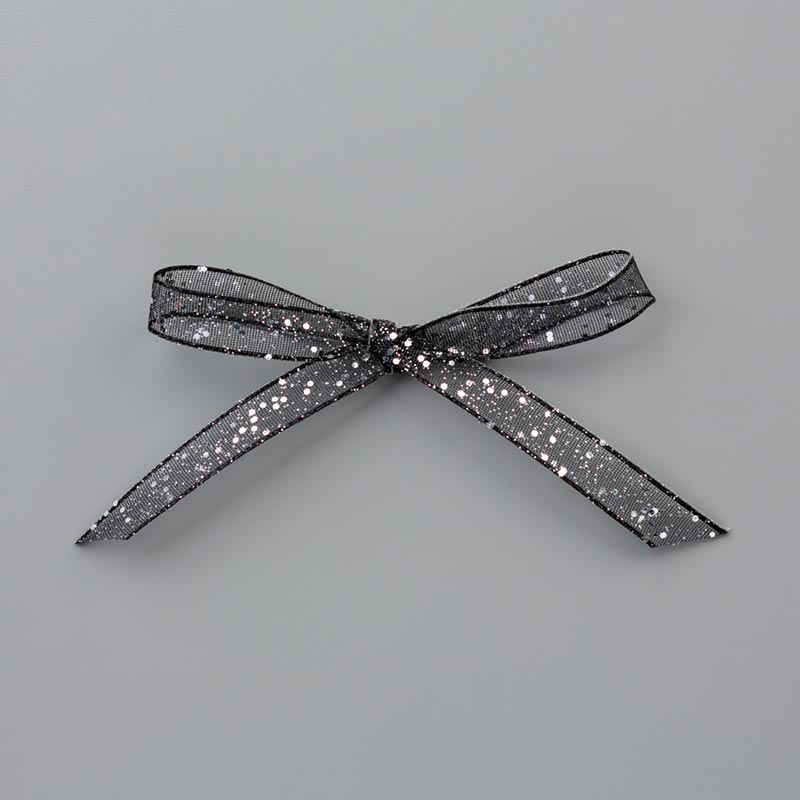
Black 5/8″ (1.6 Cm) Glittered Organdy Ribbon

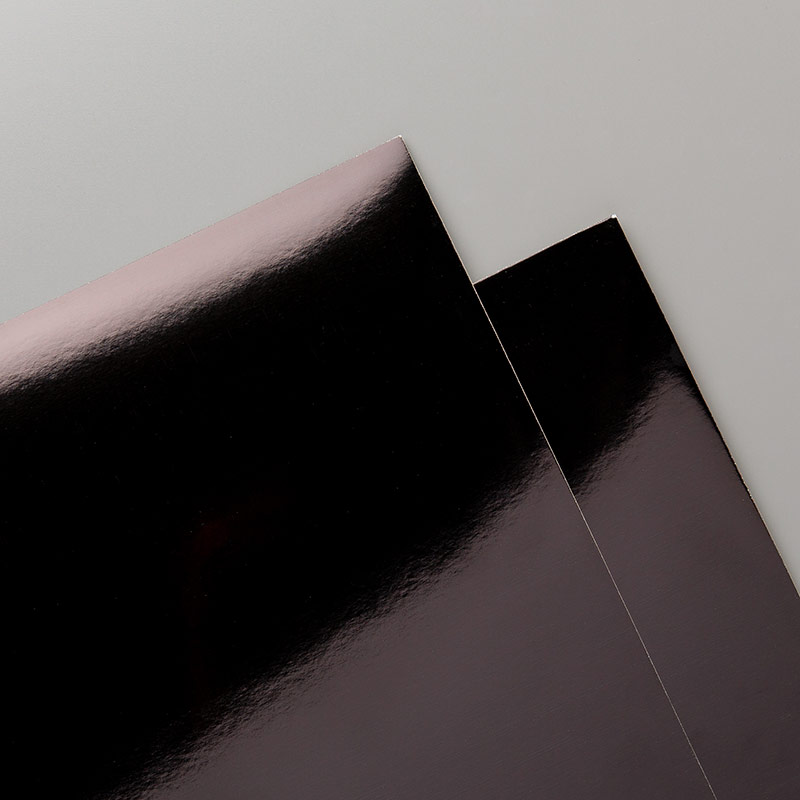
Black Foil Sheets

The 12 Weeks of Christmas

12 Weeks of Christmas

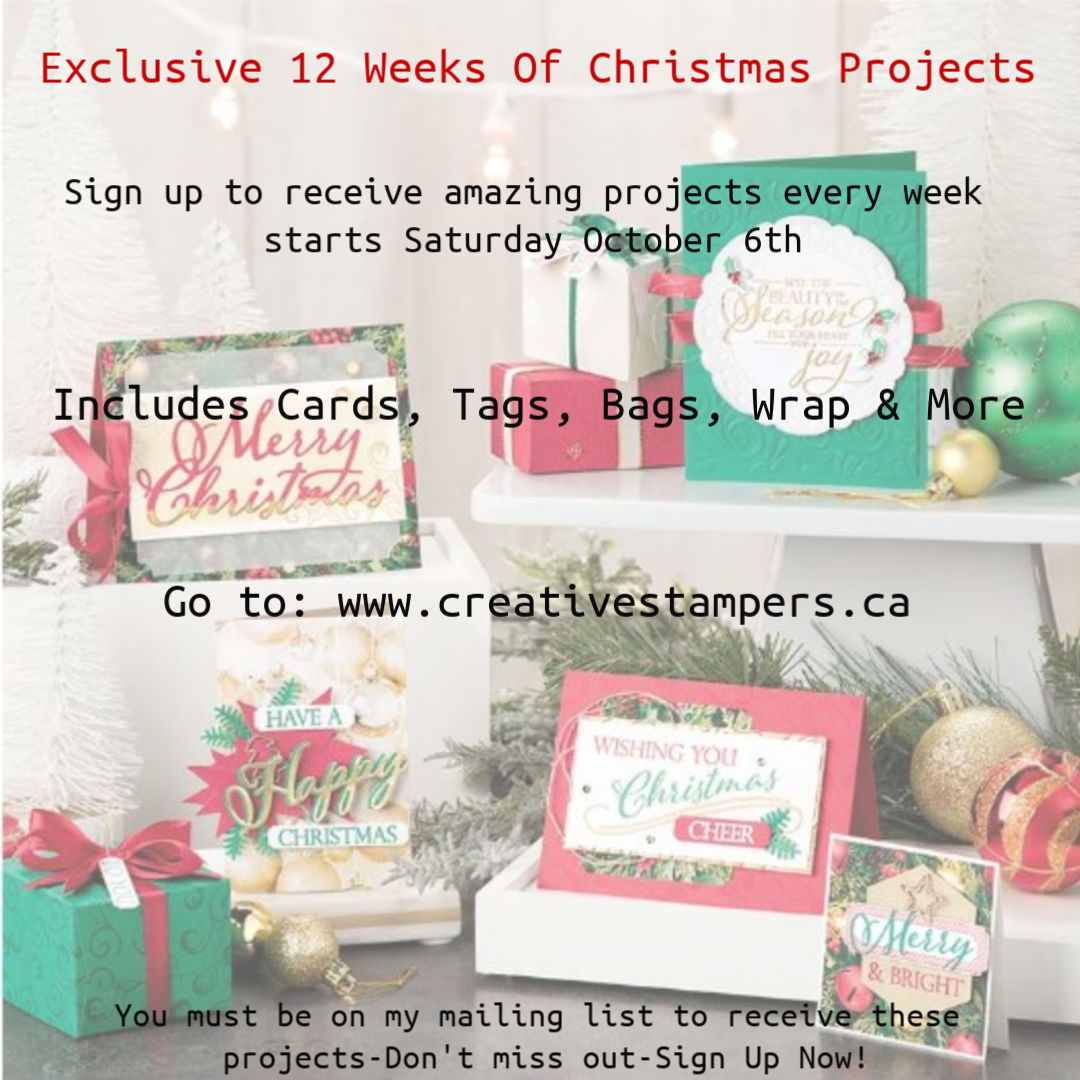
I am so excited! This year I’ll be partnering up with Robbie Rubala at https://creationsinpaper.com/ to give you the  12 Weeks of Christmas.  The campaign will focus on fun FREE projects that can be easily created.  We hope that these inspirational step by step tutorials not only teach you new techniques, but inspire you during this holiday season.  Which I must add is one of MY favorite holiday of the year.  The added bonus is that when you are all done, you’ll have some great holiday projects.
The 12 Weeks of Christmas

How Does It Work?

Every Saturday, starting October 6th, we will email you a new FREE project tutorial with a holiday theme.  We will end December 22 so you will have time for last minute holiday cards, gifts, decorations or simply to enjoy the season.  The projects vary from cards, tags, wraps, decorations and more.

The 12 Weeks of Christmas project sharing will be only available to members that are part of the Creative Craft Club. Here you will find a wide range of tutorials for every season, holiday, or special event.  So if you are not part of the Club by next Saturday you will be missing out. If you are interested in any of products used in the projects and you live in USA then please reach out to Robbie.  If you are from Canada I would be delighted to help you out.   In order to get on the Creative Craft club. Click here.

That’s it!  Easy, breezy and lots of fun!

The 12 Weeks of Christmas

4 Ways to Use Up Left Over Patterned Paper

Have you ever designed a project and have leftover little pieces of pattern paper and you are too afraid to throw out?  I do! I always think, “Oh! I can use it in another project.” And before you know it it’s accumulating in a “scrapbox” untouched.  I’m guilty of this and I am sure that there are many others too.  So today I am going to show you 4 ways to use up left over patterned paper.

4 Ways to Use Up Left Over Patterned Paper

Make a Starburst Cards

Don’t be afraid to cut up paper.  Lay it out see if the inspirational juices flow.  I decided to cut some of my leftover designer series paper into starburst angles and made a ray of sunshine.

4 Ways to Use Up Left Over Patterned Paper

Use the Herringbone Technique

Yes! Use those left over strips of paper to create a beautiful design and you have very little to throw out.

4 Ways to Use Up Left Over Patterned Paper

Cut Out Objects

Use your punches and cut out random objects, such as balloons, clouds,  flowers, fox, lemon.  You get the idea and use them in your next project.

4 Ways to Use Up Left Over Patterned Paper

Punch different shapes

While sitting in front of the TV, I normally pull out my punches and just punch out random shapes and store them in ziploc bags or containers to use in your next project.

4 Ways to Use Up Patterned Paper

4 Ways to Use Up Left Over Patterned Paper

So the next time you have left over pieces of designer series paper or patterned paper, remember that you can create the perfect project with those loose ends.  The best part no one will know that those were scraps of paper that you were going to throw away anyway.  So let your imagination help you be inspired to create a work of art.


3 Ways to Use Your Silicone Craft Sheet

Today I am going to share with you 3 ways to use your silicone craft sheet to make crating so much easier.

When I discovered the easiest way to glue my intricate cuts, which is by using the multipurpose liquid glue I  was delighted in solving one problem.  But boy did it open up a whole new can of worms.  This glue is VERY messy and sticky.  It was getting all over my work area and I was having a difficult time completing my project without having to clean up every time. Then I discovered the silcone craft sheet by Stampin’ Up and my whole frustrated world changed.  I would put my intricate cut dies on the sheet glue, lift off the sheet, move the sheet to the side and glue on my project.  And Eureka it worked.  So this week I decided to see what else this magic sheet can do for me and I discovered 3 ways to use your silcone craft sheet.  So are you ready?  Here we go.  I’m sure there are more ways and if you join my Facebook group, you’ll find out a lot quicker.

 3 Ways to Use Your Silicone Craft Sheet


  • With adhesives


  • As a palette


  • Create mirror images


1. Use it with your adhesives to keep the mess contained, make gluing easier and avoid ruined projects.

This one little silicone sheet eliminates the need for wax paper, paper scraps, sticky grid paper etc. Instead of putting a bit of Tombow Mono adhesive on a scrap of cardstock, a small piece of wax paper or your grid paper you can put the glue right on the mat.

Ways to Use Silicone Craft Sheet


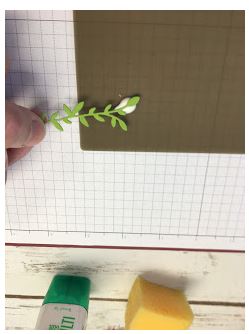
Use a toothpick to put glue on small pieces
Ways to Use Silicone Craft Sheet

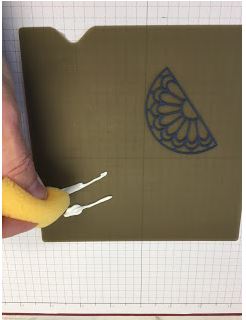
Drag die-cut pieces through the glue.
Ways to Use Silicone Craft Sheet

Use a sponge: swipe it through the glue and then dab it on.
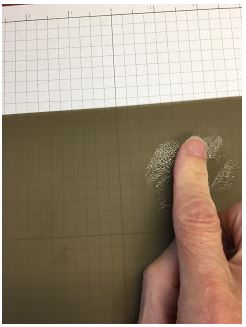
Ways to Use Silicone Craft Sheet

When you are done, let the glue dry, and then use your finger to rub it off.

No more sticky mess on your grid paper or sticky scraps laying on your workspace. No more ruined projects because you forgot there was glue on the grid paper and no more bits of sticky paper being blown around by the fan or heat tool. Adhesive does not stick to it!

 2. Use it as a palette when working with ink, ink refills, Brusho color crystals or when coloring with Stampin’ Blends alcohol ink markers.
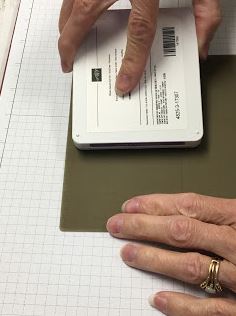
 Ways to Use Silicone Craft Sheet

Swipe the ink directly onto the mat

Ways To Use Silicone Craft Sheet


And then use an Aqua Painter to add some water.
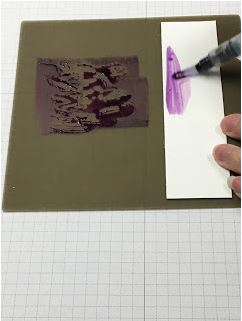
Ways to Use Silicone Craft Sheet


Use the mat as your palette and since it’s waterproof there is no soggy mess.
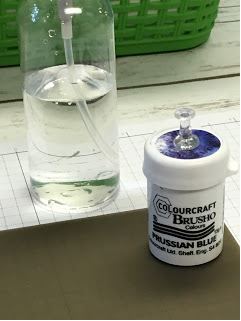
Ways to Use Silicone Craft Sheet

Use it with Brusho Color Crystals

Ways to Use Silicone Craft Sheet


Spray the sheet with water and sprinkle the crystals directly onto it.
Ways to Use Silicone Craft Sheet

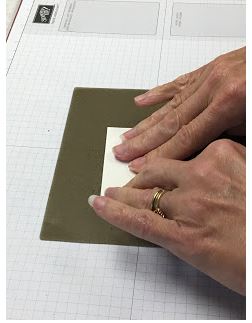
Press the watercolor paper onto the sheet.
Ways to Use Silicone Craft Sheet

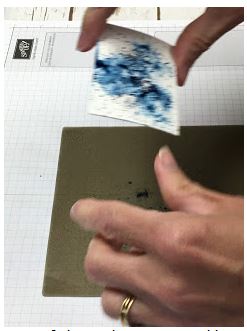
You can use as many of the colors as you like to create different backgrounds and effects.
Ways to Use Silicone Craft Sheet


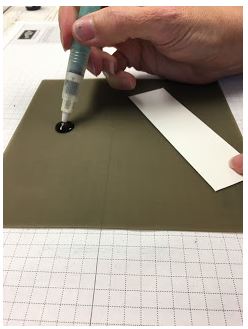
Add some ink from a refill to the sheet and use your Aqua Painter.
Ways to Use Silicone Craft Sheet

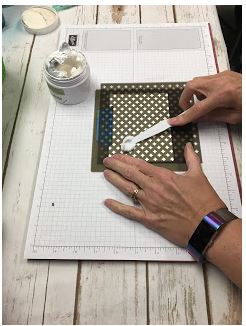
Use some painter’s tape or washi tape to secure your cardstock to the mat and use a stencil and embossing paste.

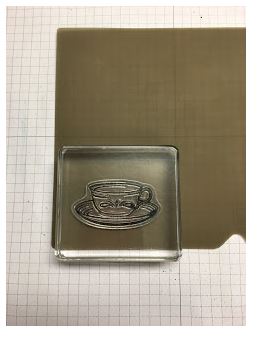
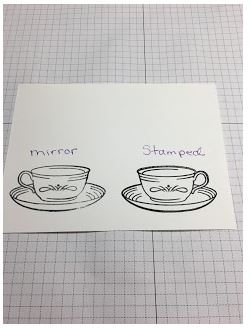
3. Use it to create a mirror Image 
Ways to Use Silicone Craft Sheet


Stamp the image directly onto a clean mat and then press your cardstock onto the image.
 

Ways to Use Silicone Craft Sheet

These are just a few of the things you can do with the very versatile silicone sheet and then when you are done with it, a little soap and water or a baby wipe will clean it up so it is all ready for your next craft project.

Supplies: (click on the image for information)


One Sheet Wonder for No Waste Paper

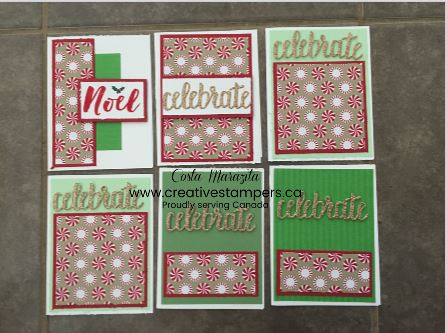
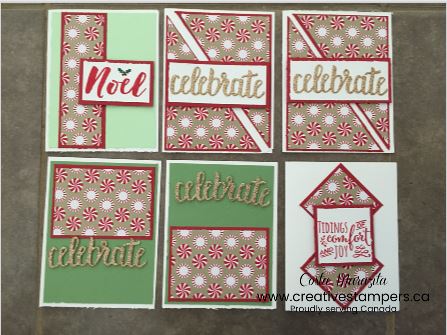
Did you know that one sheet of designer sheet of paper can make about fourteen cards?  Yes! Depending on how you cut a sheet of 12 X 12 designer series paper, you can get about 10-16 cards.  Now that is one way of getting the most out of your designer series paper.  If you would use all the sheets this way you could make roughly 150 cards. This technique is called the one sheet wonder and it is great to maximize your paper with no waste.

With this technique, the goal is to use the entire Designer Series Paper with as little waste as possible.

When I looked online, there were many ideas for how to cut the piece to make as many cards as possible. I love all of the ideas that I saw, but decided to try my hand at making my own template. As you can see from the pdf template below, I have no waste.

So you can either draw out your template, or use someone else’s template. Then you need to decide if you will be using Designer Series Paper or create your own background on some cardstock.

Before I started anything else, I actually cut the designer series paper and randomly laid them out on some card front sized paper.   I wanted to see what to do with the pieces,  the possible layouts, and how many cards I would be able to get out of it. I kind of had an idea of how I wanted my layouts to be from when I designed my template.

Once, I’m happy with the layouts, I then start putting my cards together.

This technique can be a little time consuming, but it is so great when you finish and have several cards done.

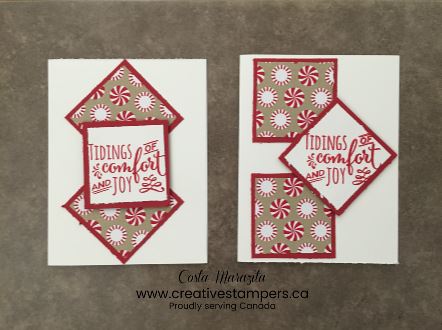
Here are the different card layouts that I did with my cut pieces. There are so many options of what you can do with this technique.

One Sheet Wonder

One Sheet Wonder

One Sheet Wonder

Give this technique a try and see what you can come up with. Even try creating your own template for your one sheet wonder. It’s fun to see how many different layouts you can come up with from one sheet.

One Sheet Wonder template: one sheet wonder

Supplies Used: (click on the images for more information on products

Whisper White Cardstock 8X10

Cherry Cobbler 8X10

Old Olive 8X10

Celebrate You Thinlits Die

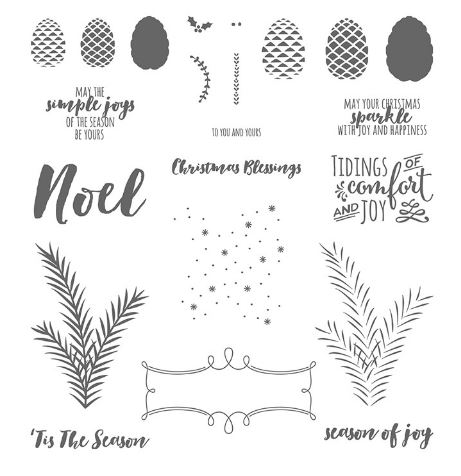
Christmas Pines Stamp Stamp Set


DIY Christmas in July Preparation

I know it is only July and talking about the cold winter months ahead only brings chills down your back.  After all the cold winter weather only ended about 2 months ago.  But trust me it is never too early to start getting ready for Christmas.  The last thing you want to do is rush and stress last minute because you didn’t give yourself enough time to get ready. Starting DIY Christmas in July preparation allows you to better cope with the last minute things that you forget in November or December.

Start with a List

This is the month that I start with a list. I make the following lists:

  • Gifts: This is a list of gifts I will be giving to my kids, nieces, nephews, grandparents etc.  You get the idea. I also create a separate gift list for my kids teachers.
  • Christmas Cards: This includes family, friends and clients and are all handmade.  Some with family photos and some are Christmas cards
  • Calendars: Every year I share a photo calendar to godparents, grandparents, aunts and uncles.  It shows how my children have grown throughout the months.
  • Decorations: Christmas decorations that I found missing last year or I just want to change up.  I try to DIY all of them
  • Loot Bags:  This is small little gifts that I include with my cards for colleagues, or neighbors. Such as chocolate, cookies, etc. In September, I create a separate list for the kids loot bags as well.  These are loot bags or little gifts like a fidget spinner or a book that I package for the students in my kids class or the students in my class.  I wait for September because I’m able to ask the teacher’s for accurate numbers and I am able to see how many students are in my class. I normally make a few extra loot bags in case a new student registers.

Prioritize

So know that you have created your lists, it is time to prioritize.  I normally start with the one that has the longest list, which is the cards and begin to design some of my cards in July.  I only try to design 1/3 of the cards now because Stampin’ Up has a holiday catalog that comes out in September, which I get my hands on in August. One of the perks of being a demo, is that I get to see and order from the Holiday catalog in August. And I love to use new products with the old.

So if you are like me and love Christmas, now would be the perfect time to sign as a demonstrator.  You don’t need to run a business to get a discount.  I started as a demo 7 years for the discount and I still enjoy the discount.  When you sign up this month, Stampin’ Up will throw in a set of ink pads of your choice. For more information click the link below.

Card Designs of the month:

DIY Christmas in July PreparationDIY Christmas in July PreparationDIY Christmas in July Preparation

Supplies: (Click on the image for more information on the product)

3 Ways to Store Framelits and Thinlits

I’ve been slowing organizing and attempting to create a craft space to work in.  So far I’ve organized my embossing folders, card stock and stamps.  I have purchased a computer armoire and I have slowly started converting it to a craft space to work in.  Now I am working on finding ways of storing my framelits and thinlits that is easy to maintain for me.  There are many ways to to store them and I’ll be honest Pinterest has many ideas, however I like to choose comfort and ease over style.  So far I have found 3 ways to store framelits and thinlits that I know will work for me. I have chosen one that I am happy with.  Stay tuned, to see how I store my framelits.

3 Ways to Store Framelits and Thinlits:

  1. Stampin’ Up! sells framelits and thinlits in a handy plastic pouch attached to card stock.  The only thing I find with this method is that they they tend to bend slightly when removing them from the card framelits and thinlits are flimsy metal shapes that if they bend too much they may break or distort so you have to be a little more careful.  With this way of storage, you could remove them from the card stock they come on, place them on a magnetic sheet, and put it inside the pouch. This way you have a lesser chance of breakage and distortion.

3 Ways to Store Framelits and Thinlits


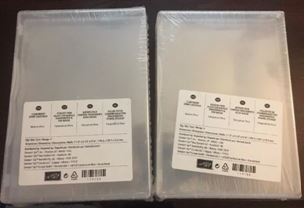
2.  A second method is storing them in the clear mount cases Stampin’ Up! sells (119105).  You would place your dies on a magnetic sheet or you can just put the dies in the case without anything.  These cases have a handy plastic cover to put the label on the outside of the case to identify the dies.  Though this is a good method of storage, I found that this method takes up too much space.

3 Ways to Store Framelits and Thinlits


And last but not least;

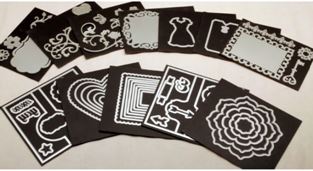
3.  Use the magnetic cards from Stampin’ Storage www.stampinstorage.com.  These magnetic cards are designed with these dies in mind.  Once on the magnetic card and labelled place them in a basked divided into categories, Christmas shapes etc.  This way of storage protects and saves space.

 3 Ways to Store Framelits and Thinlits


Now I know you have been waiting in anticipation and want to know how I store framelits/thinlits.  Are you ready?  I store them on a magnetic card that I picked up at my local dollar store.  They look exactly like the magnetic cards from Stampin’ Storage.  They have different sizes.  I purchased the 4×6 ones and the 8×10 ones. The 8×10 are normally cut to size for ones that need more than 4×6. Finally, I place them back in the clear plastic pouch that Stampin’ Up stores them in.  The ones that go with a coordinating stamp I normally elastic band them together.  The rest I place in a decorative basket.

There you have it 3 quick and easy way to store and organize your framelits/thinlits.  But remember chose the one way that works for you and is not a style method. You may need to try a couple before you find the right way.