Recently I saw a quote on Pinterest and it said, “I love you so much…I’d use my best patterned paper on a card for you!” When creating a handmade Valentine’s Card you are telling that person they are very special, and loved. In today’s 10th day of Valentine’s project, Robbie creates a cute Valentine’s card. If you missed our last projects, scroll down and click on the links on the previous projects.
To Begin….
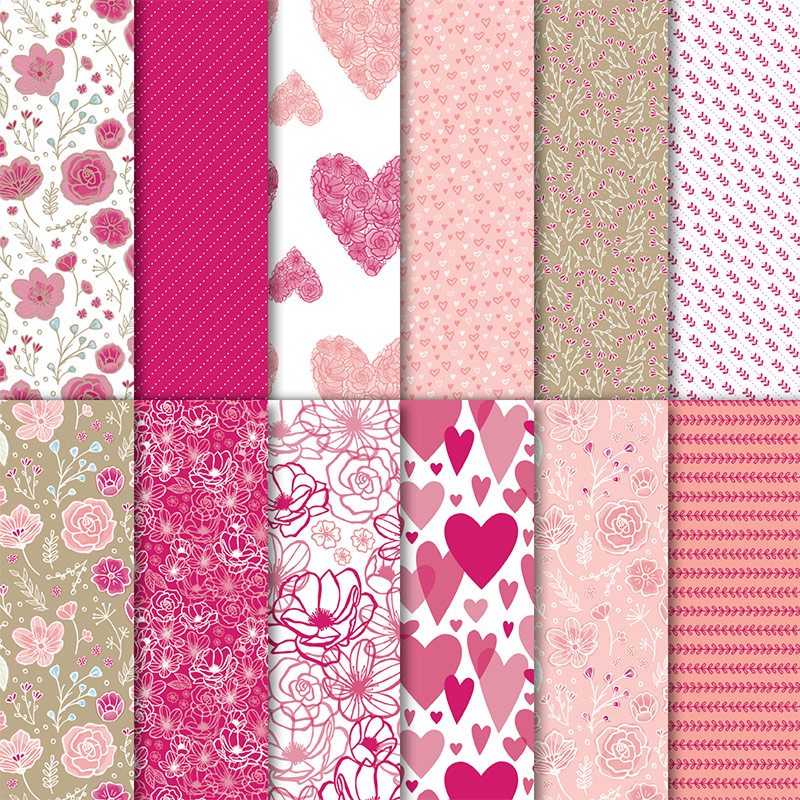
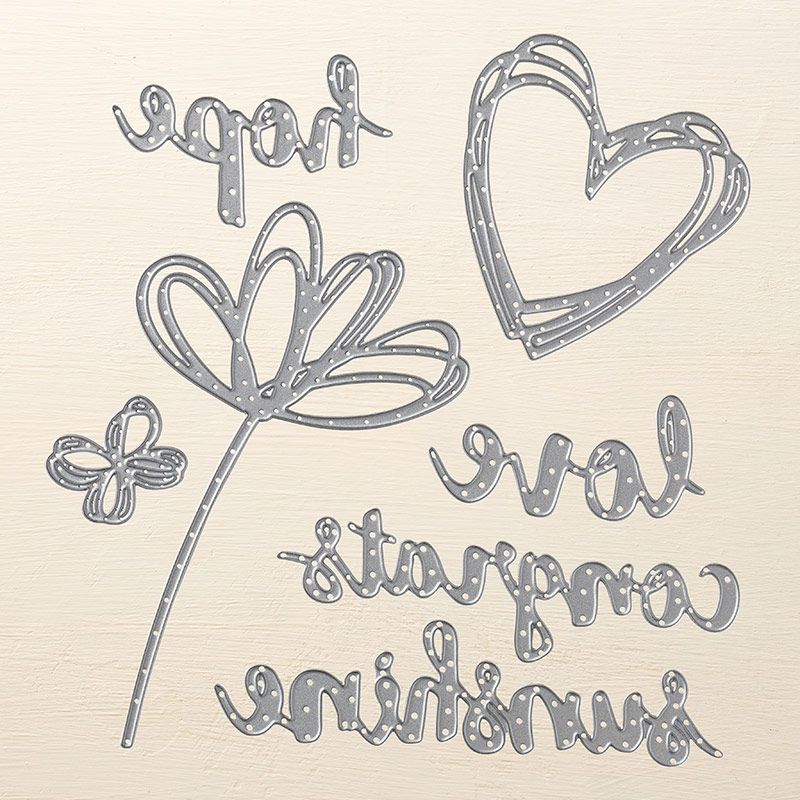
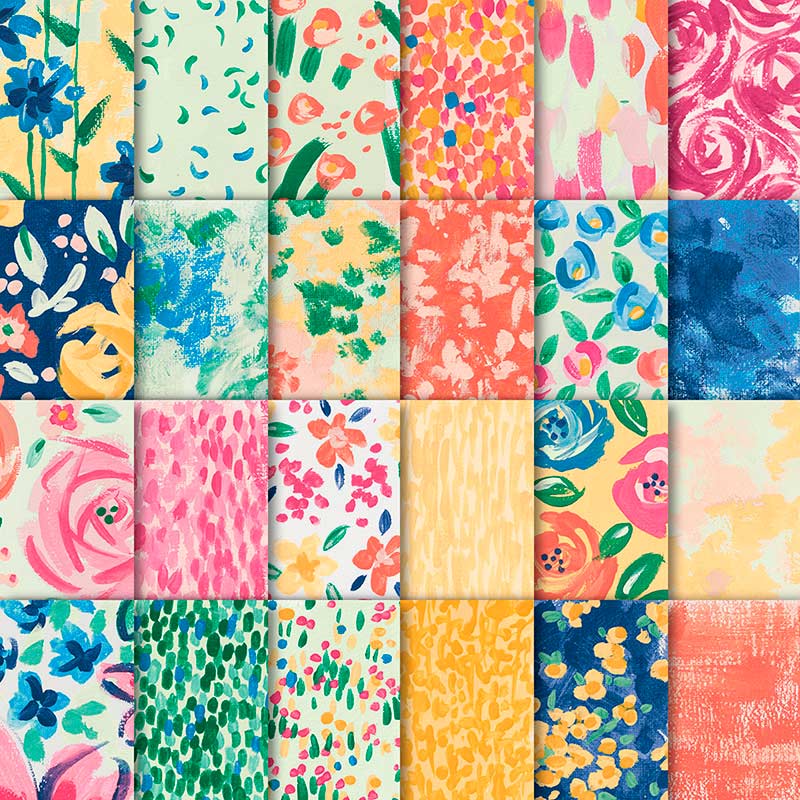
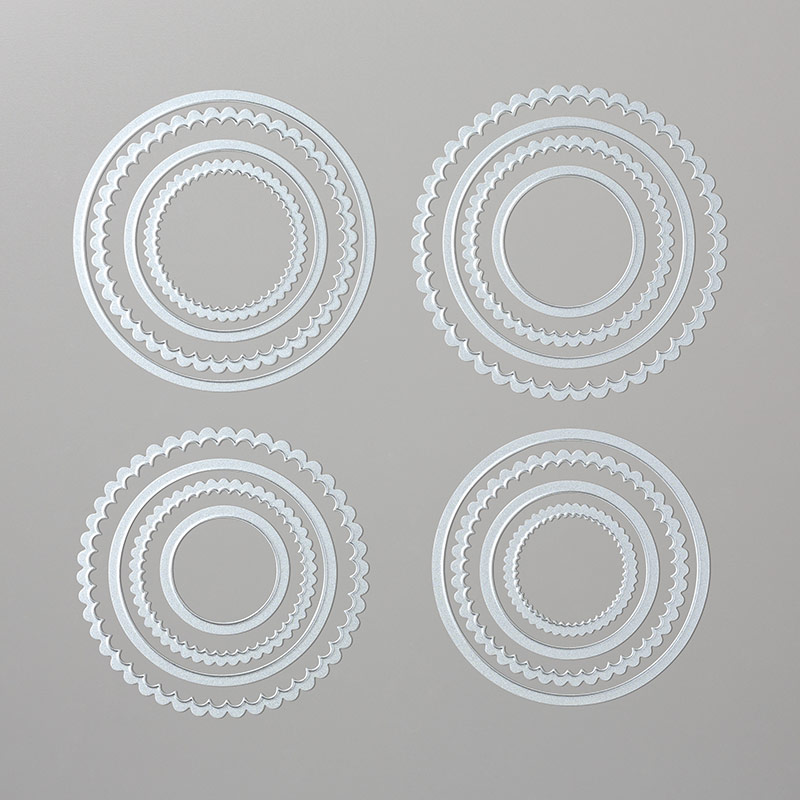
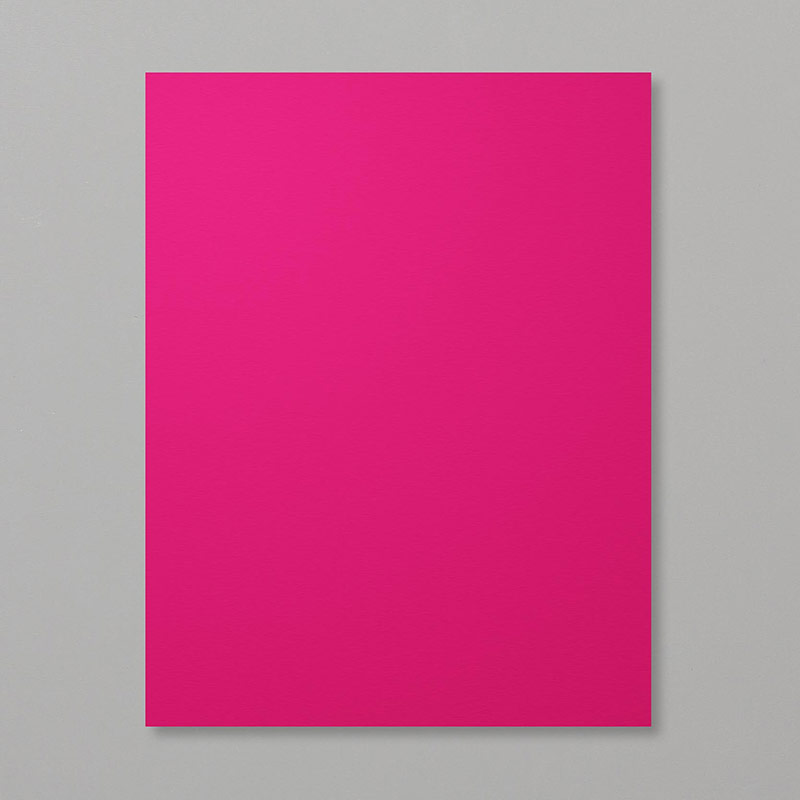
To make today’s card start with a piece of Flirty Falmingo card base. Take the Detailed Trip punch and round the corners of the card base. Cut the Basic Black layer and the whisper white layer and round both card stock corners. Use the Sunshine Wishes thinlits and cut out a heart from the lower right hand corner of the Whisper White layer. Add a piece of All My Best designer series paper on the back of the Whisper White layer to cover the hole.
Follow with…
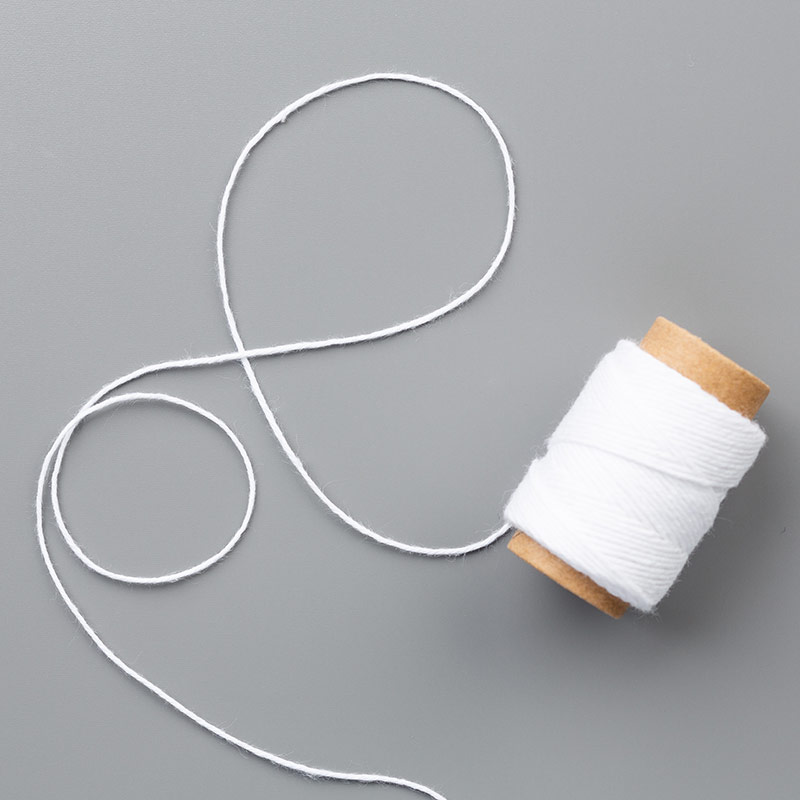
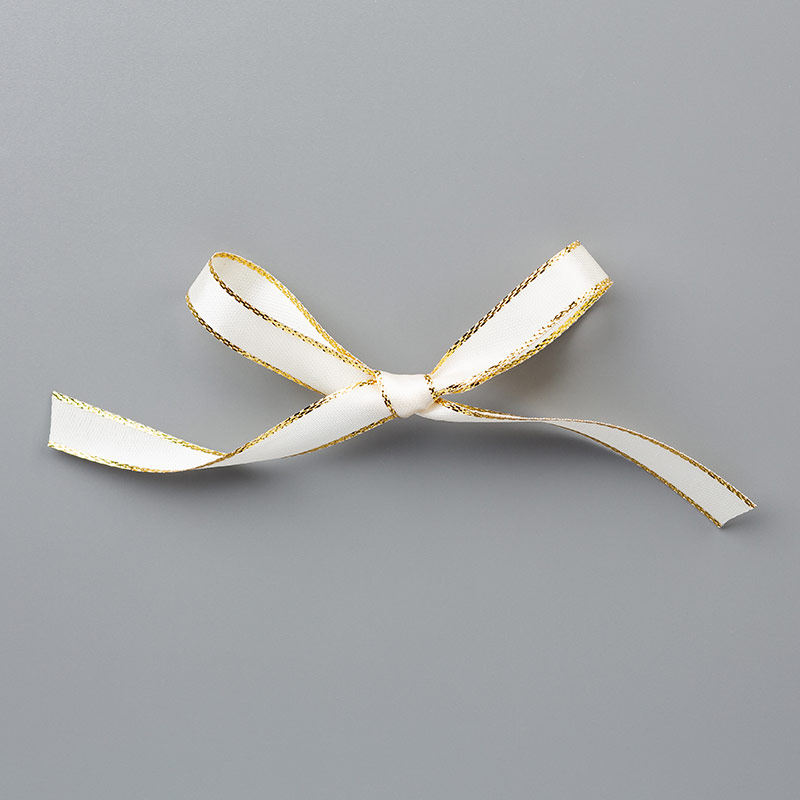
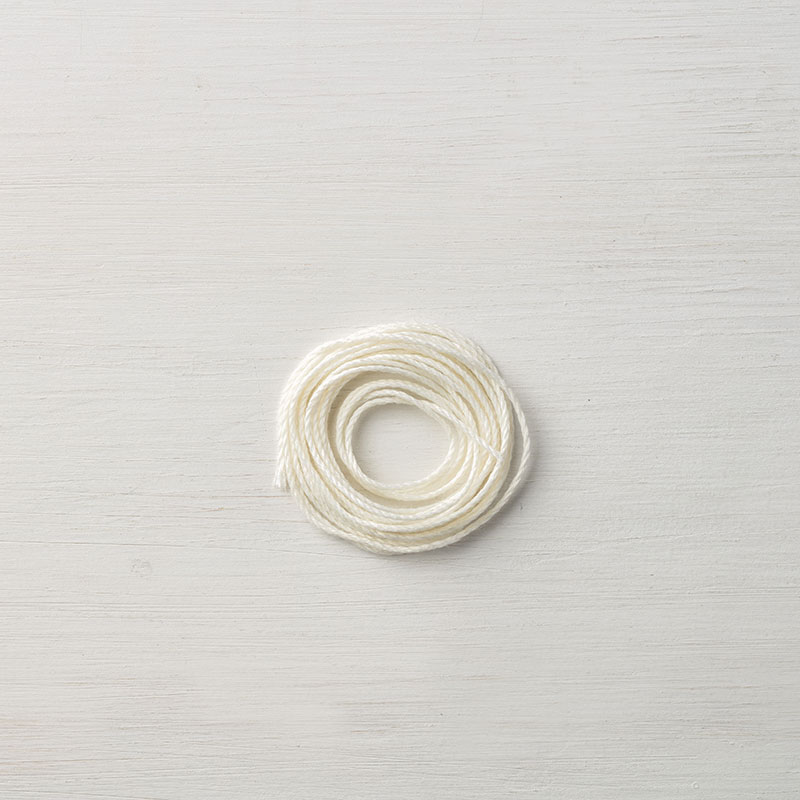
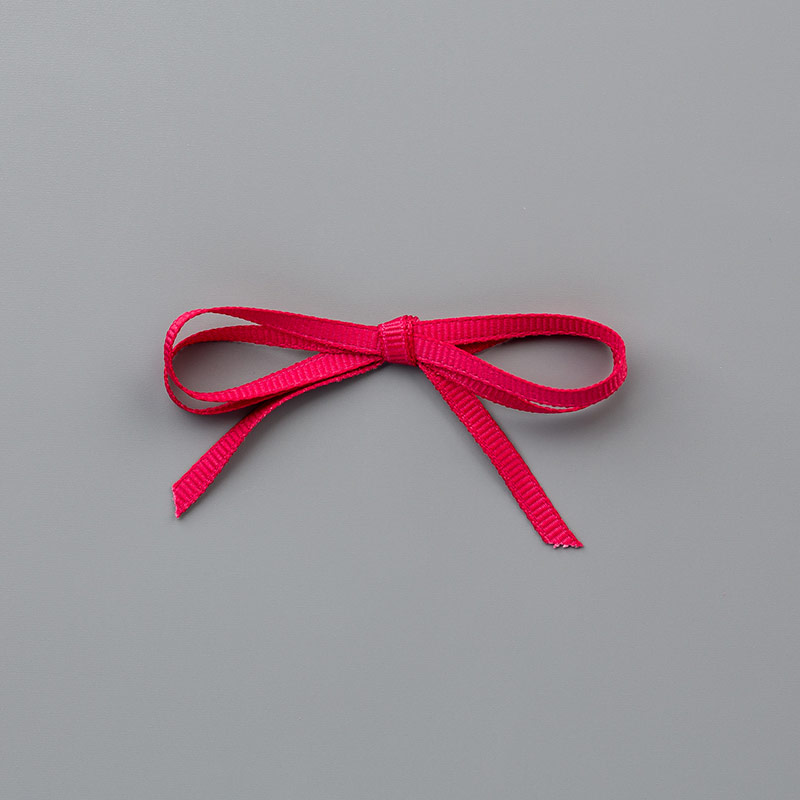
Attach your Whisper White layer to the Basic Black layer. Add a strip of the same designer series paper to the left hand edge of the Whisper White layer. Tie some Whisper White baker’s twin down the same side and tie a bow at the top. Attach these layers to the card base. Using the Sunshine Wishes thinlits and some Flirty Flamingo card stock, cut out a heart. Add Glue to the back of the cut out and inlay it into the opening on the Whisper White layer.
End with….
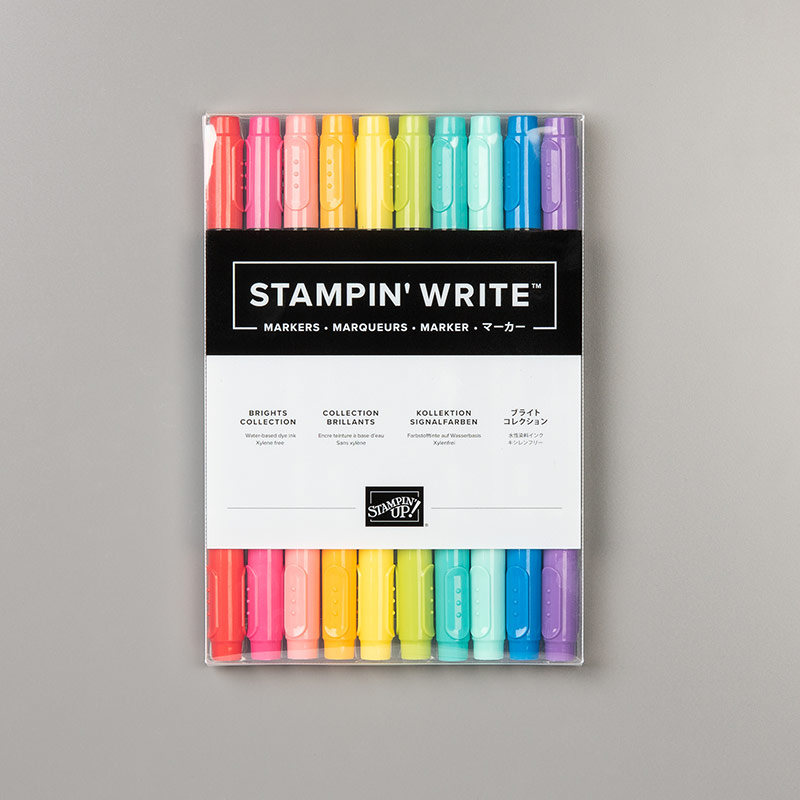
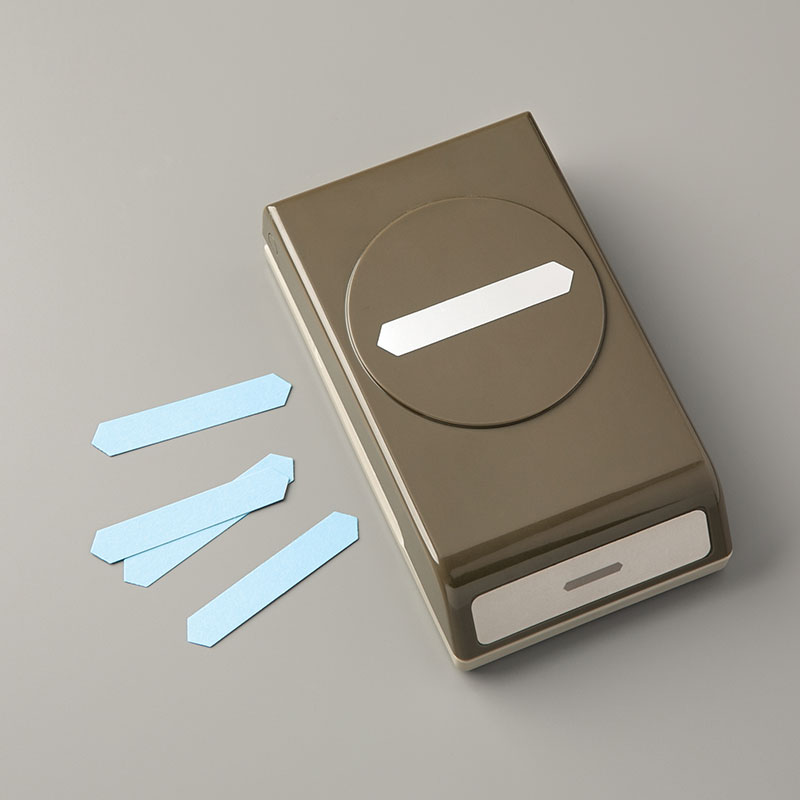
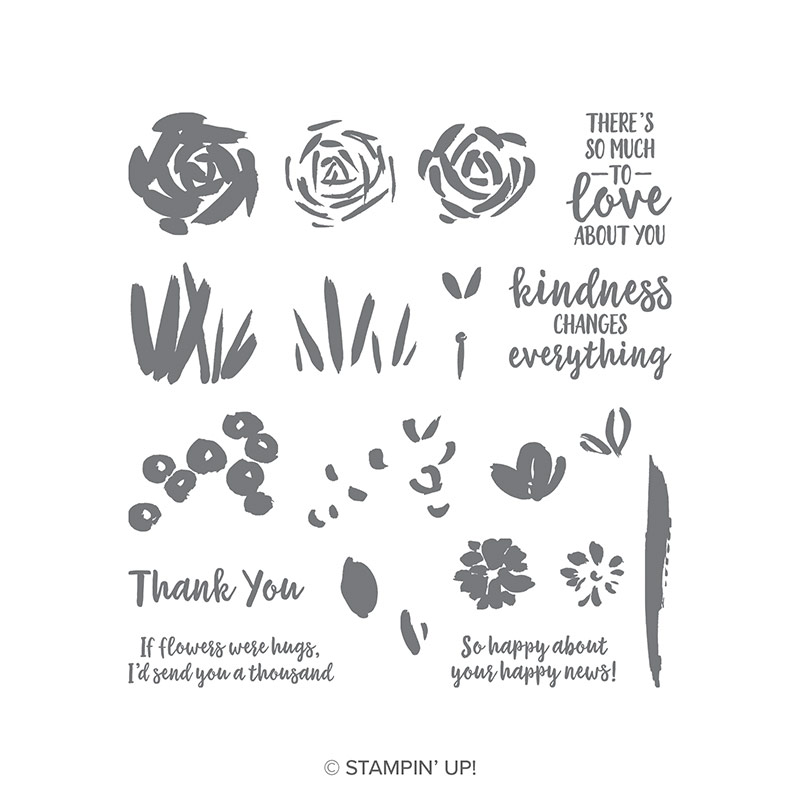
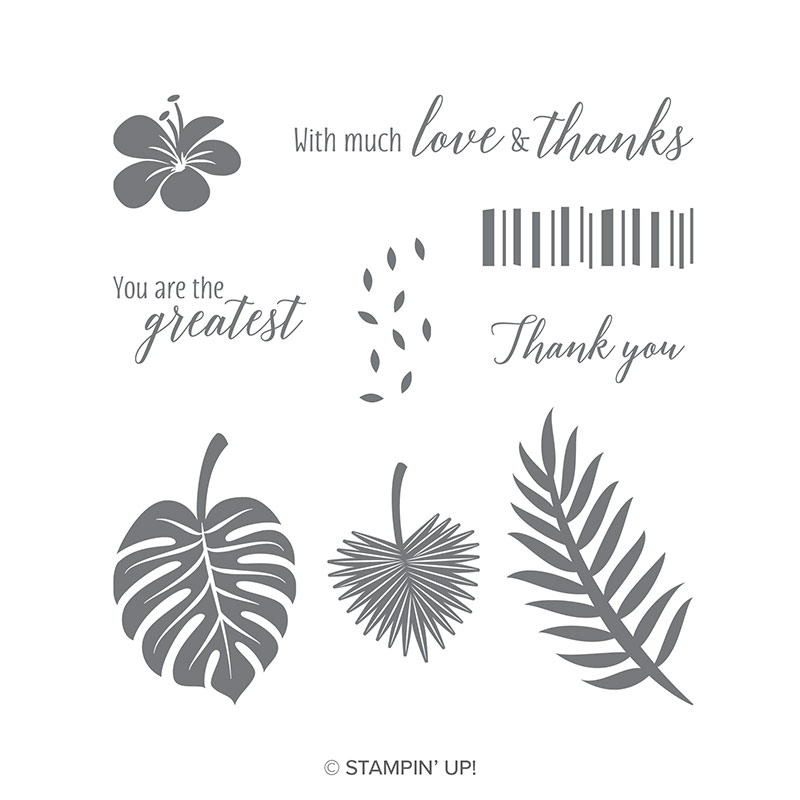
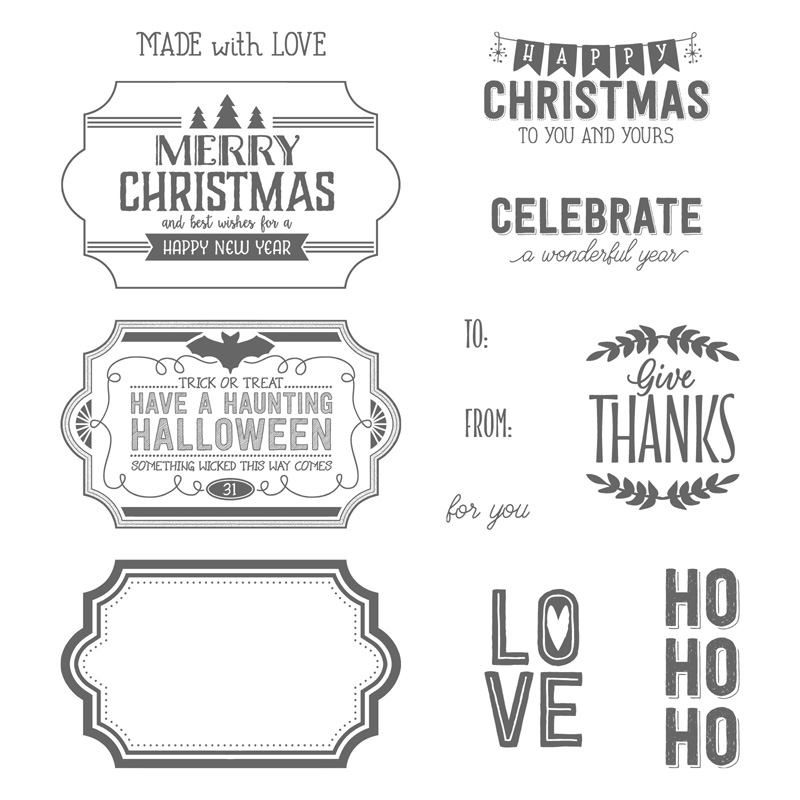
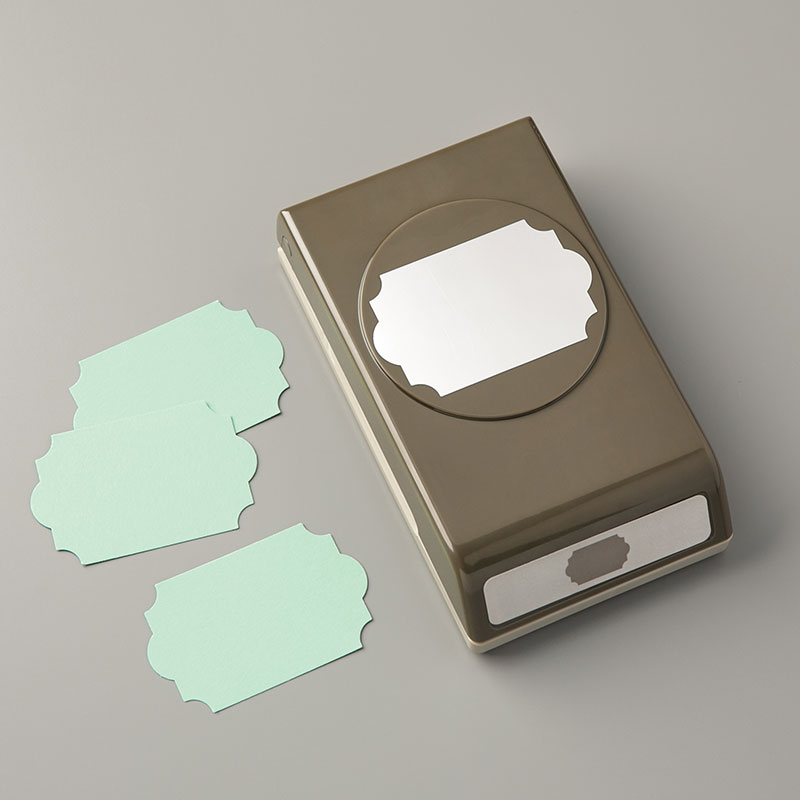
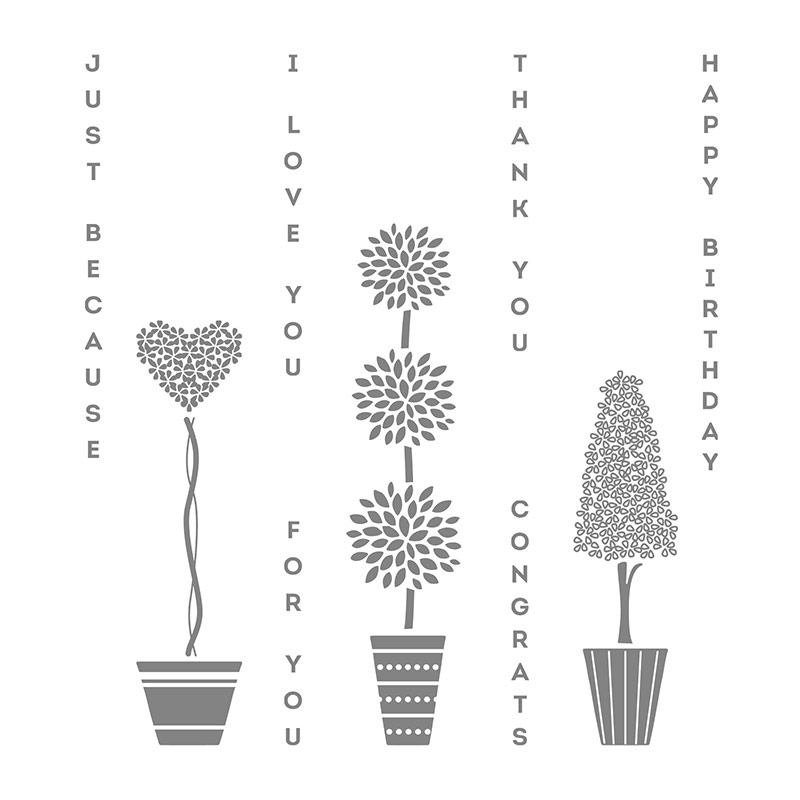
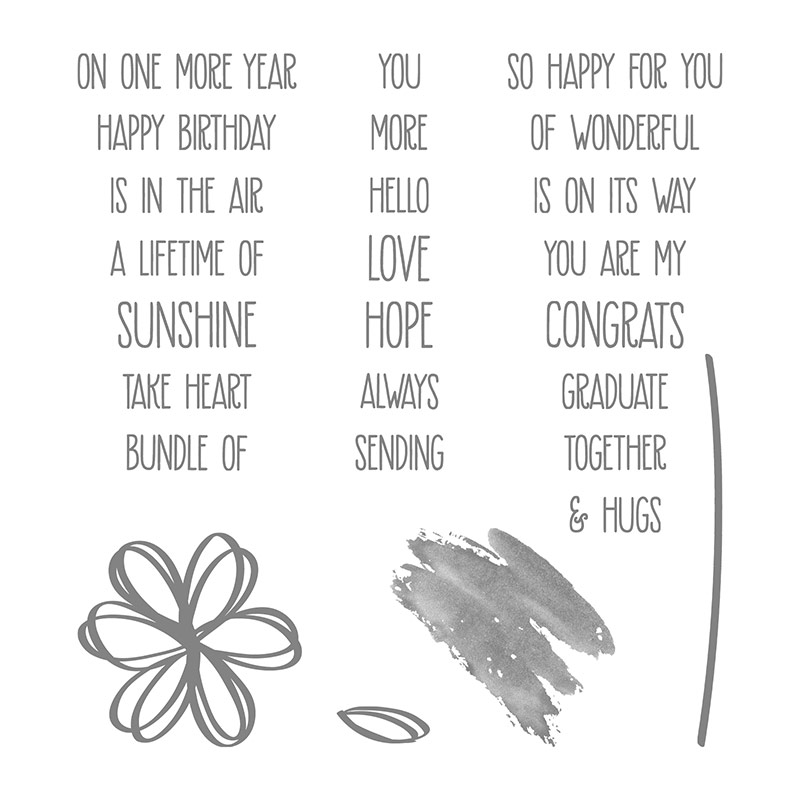
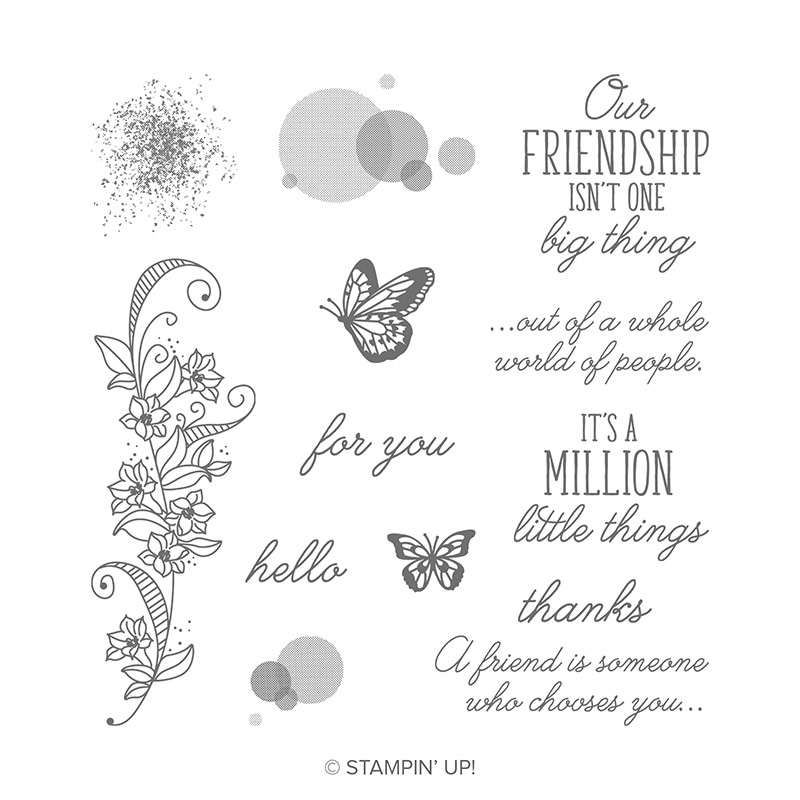
Take the stamp from the Accented Blooms stamp set and using your Flirty Flamingo marker, ink up just the words you want to use. Stamp it onto a scrap of Whisper White card stock. Use the Classic Label punch to punch it out. Add this punch to a scrap of Flirty Flamingo card stock. Use your snips to trim around it to get a larger shape like the one the sentiment is on. Add this sentiment to your card base using dimensionals. So what do you think about the completed How About a Cute Handmade Valentine Card creation?
Missed the last 9 Days? Follow the link below.
DIY Valentine’s Day Pillow Box Gift Card Holder
Supplies: (Click on the images for more information on the products)
 ]
]