So the last 5 days I have been sharing DIY favors, and treat bags. Today I thought I would add a twist to it. I thought this would be perfect for those kids that are difficult to get a Easter gift. I actually have two age ranges that are difficult and that is my sister’s and brother’s children who are under the age of 2 and have not been exposed to chocolate yet. The other age group I find difficult are the teenagers. These are my in-laws kids who have hit the teenage years. The kids that think that they are not little kids any more.
So what Easter gift do you put together for the little babies and teenagers?
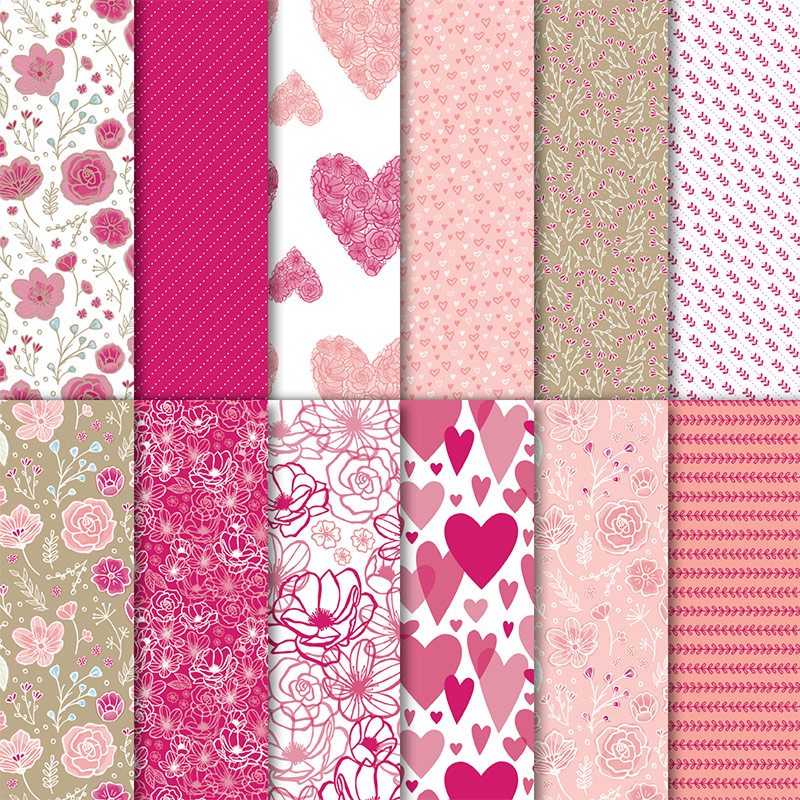
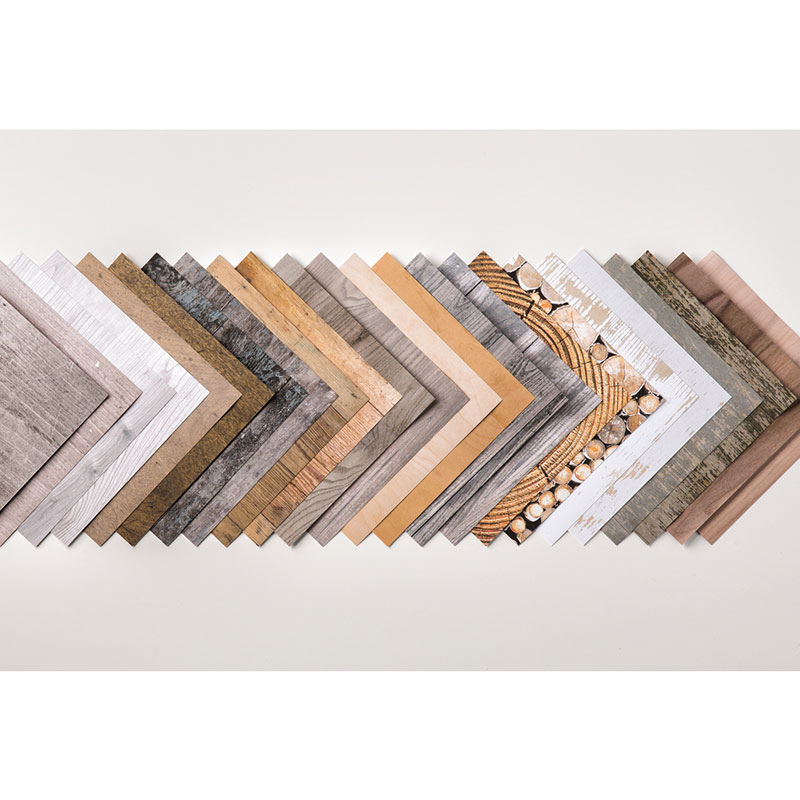
Get ready because all you need is some designer series paper and the Stampin’ Up gift bag punch board. Yes! A cute bag filled with some treats and a gift card. Now I want to clarify that I have used up all my current Stampin’ Up Designer Series paper so I went digging through my old stash. I found the perfect paper that had Easter written all over it. The bag took me 10 minutes to make.
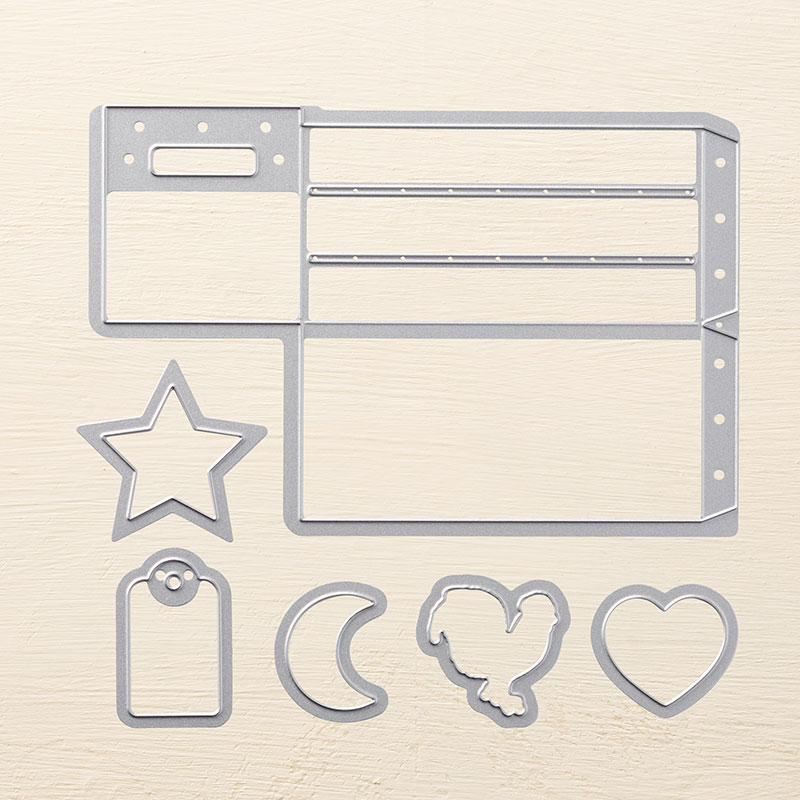
I wanted to make the bag fun so I took out some dies, cut out some shapes and made a bunny. You can use a Stampin’ Blend to make the face whick I printed one I found in clip art. I was really happy with my creation because trust me I only get about an hour of crafting time a day. I can relate when you say I do not have enough time in a day to create. So this is why I am sharing quick fun and wow crafting projects.
So if you are enjoying any of these project ideas, you are going to love the FREE resource Library.
This library has FREE step by step PDF files of different projects. I need to emphasize that new projects are uploaded on a weekly basis. So you will always get fresh new project ideas.
*** I used a lot of retired products to make this project. Include the mini clothes pin which was from a Paper Pumpkin kit. Below are items you can use in place of the items I used.
Product List


 Metallic-Edge Ribbon")


 Designer Series Paper")
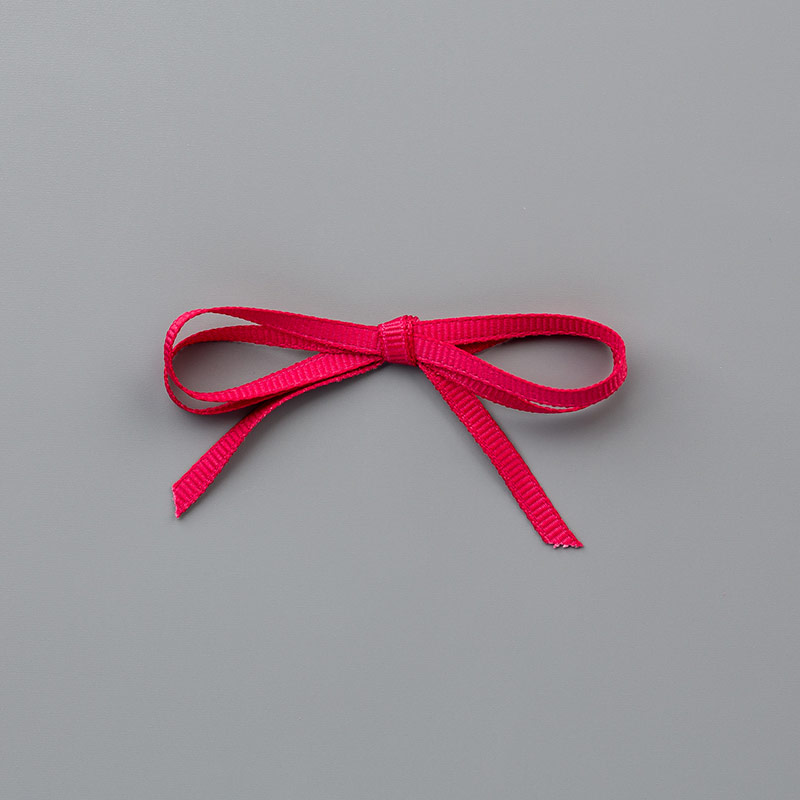
 Grosgrain Ribbon")